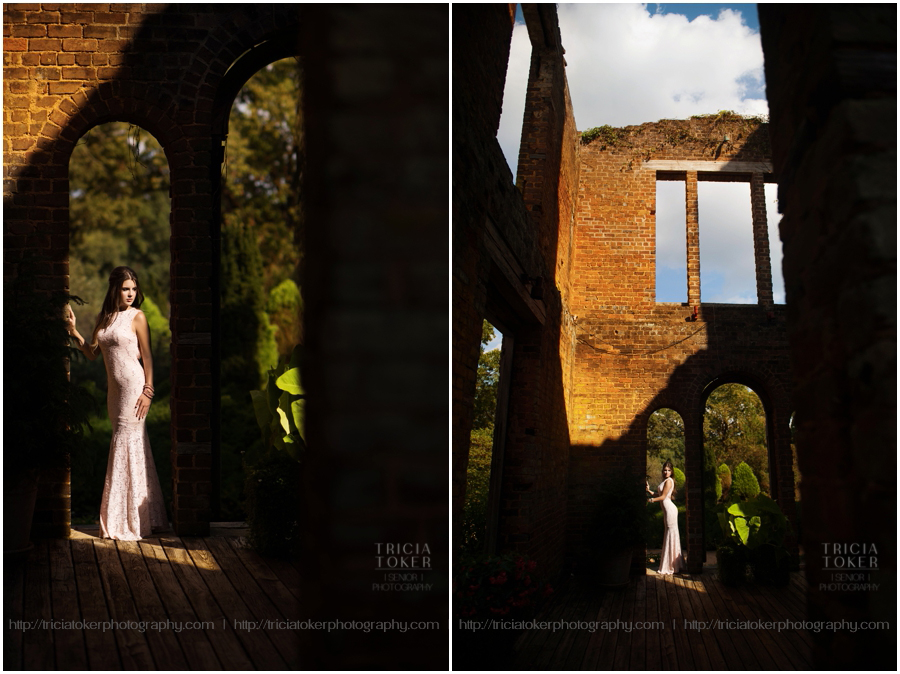


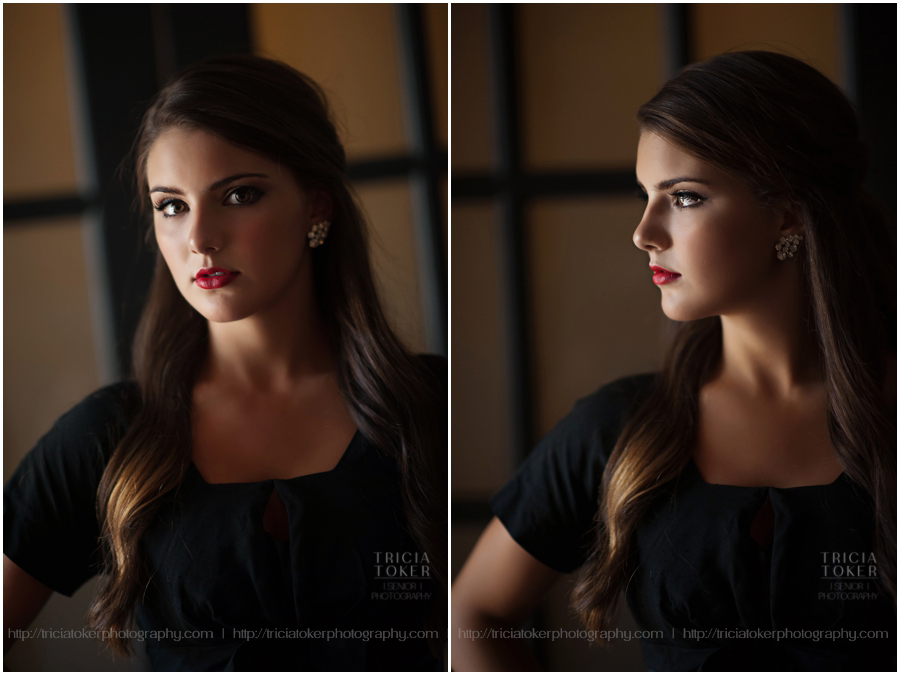
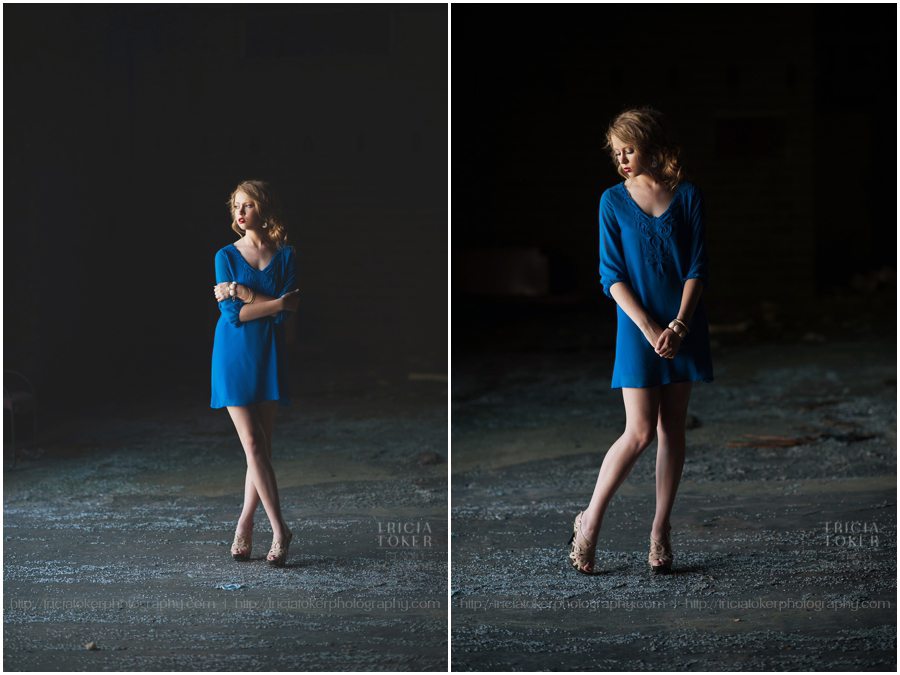
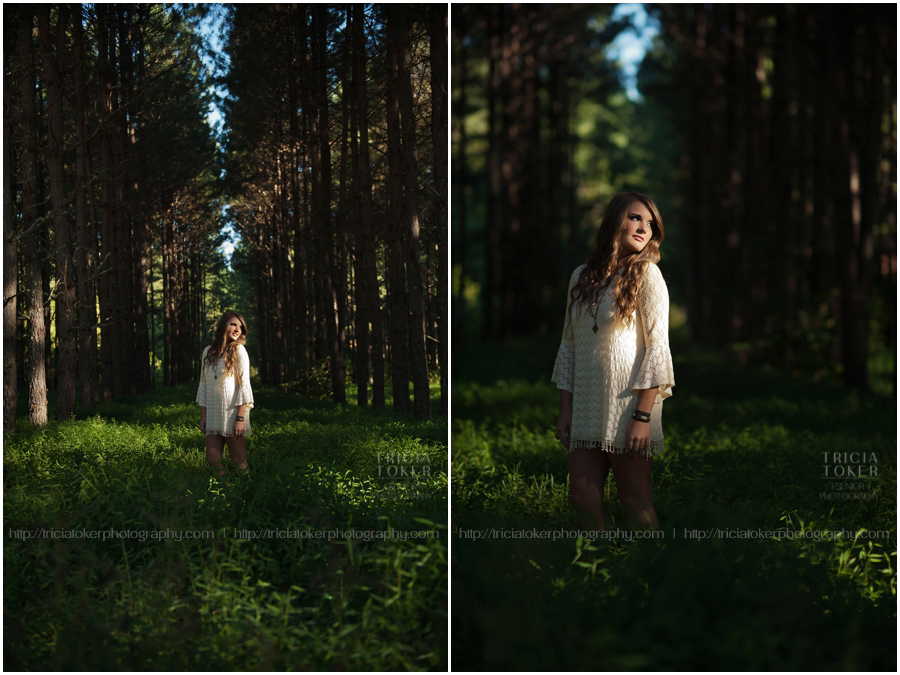
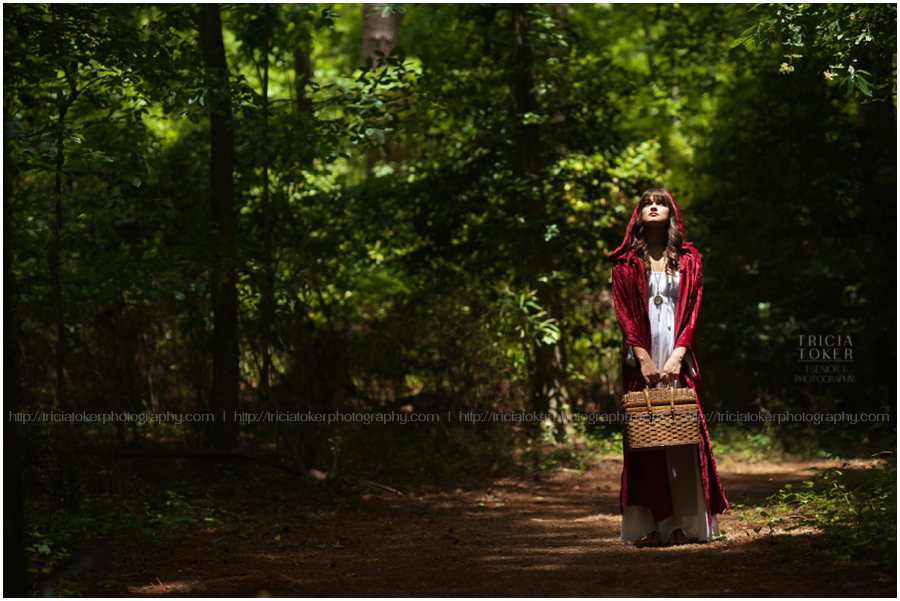
I’ve always been drawn to images with dramatic lighting. The light and the shadows. I love how light falls on faces or the subjects. As a photographer, obviously beautiful natural light is what we look for and often need, but find me a sliver of light and I have to place a person (or my dog) in it!

Sadly, I am not as fluent in studio lighting as I once hoped I would be. I have strobes and off camera flash, but I’ll be honest, I rarely use them. Luckily though, you don’t have to excel in studio lighting to create images with dramatic lighting.
My favorite way to create a dramatic lit image is by using harsh slivers of light. This isn’t always the easiest on the subject because sometimes it requires them to look towards the light. Not like crazy “Poltergeist” looking at the light, but the kind that could potentially be uncomfortable for the eyes of the subject if staring into it for too long. Especially for those people with light colored eyes. One tip, I even use during my shoots for clients with sensitive eyes, is to have them close their eyes and open right as you are ready to take the shot. You’ll probably have to try it a few times, but it will be a lot easier on your client’s eyes and they’ll thank you for that. Another easy fix, sunglasses! Sunglasses are not only a perfect accessory, but can be a great option when placing your client in the harsh light.

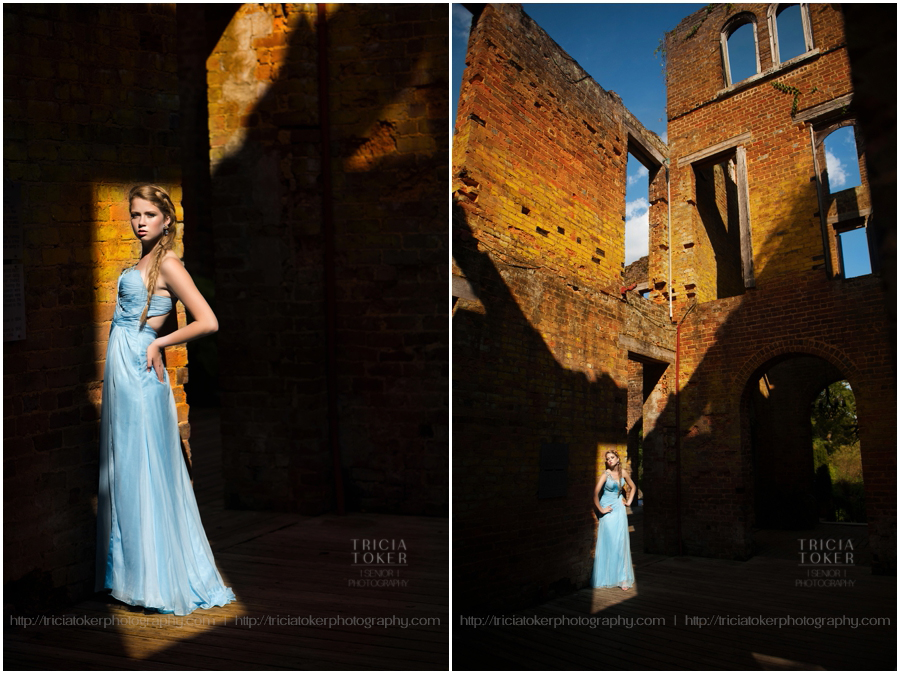
Why do I love harsh light? Placing my subjects in these patches of light makes everything else go dark and fade away. Be sure to properly expose though because your camera may fight you on this depending on your settings. This is not the time for auto settings. Otherwise, your camera is going to try to properly expose everything and poof, drama gone.
Once I get my images on the computer, I first use Lightroom to cull. I will also bring down the highlights. Often times, when shooting in harsh light, It’s difficult not to get some blown out areas. Lightroom really helps bring the detail back in these areas. Go to Develop and choose your Highlights slider and bring it to the Left as much as you find necessary. That’s really all I do in Lightroom. The majority of my editing takes place in Photoshop. For these images, I really want that extreme difference between the light and dark. Once you have it on your computer though, you may see more detail in the shadows than you want. When I want to darken those up, I either use a soft light layer and bring the opacity down to taste or play around with my levels. If I still don’t have the warmth I want from shooting in Kelvin, I’ll adjust that in Photoshop as well. I’ll do that with curves layer and adjust to my liking.
Get creative. Shooting this way will create a completely different image than if you shoot to expose everything properly and you’ll love it!
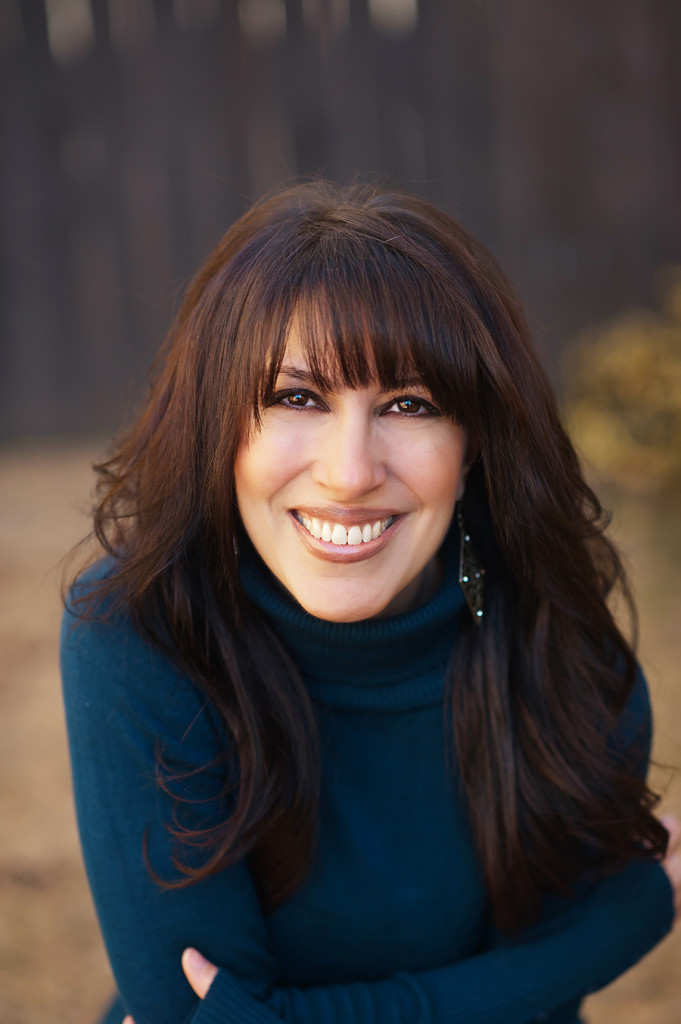
Tricia is a senior portrait photographer based out of Atlanta, Georgia. Also known for her styled shoots, Tricia creates a once in a lifetime experience for all of her seniors. When Tricia isn’t behind the camera or in front of a computer, she’s enjoying time with her husband and their two shar-peis. Probably watching reality tv, scary movies, or planning the next holiday gathering (her favorite obsessions).
Find Tricia Toker Photography on the Web: WEBSITE | FACEBOOK | INSTAGRAM