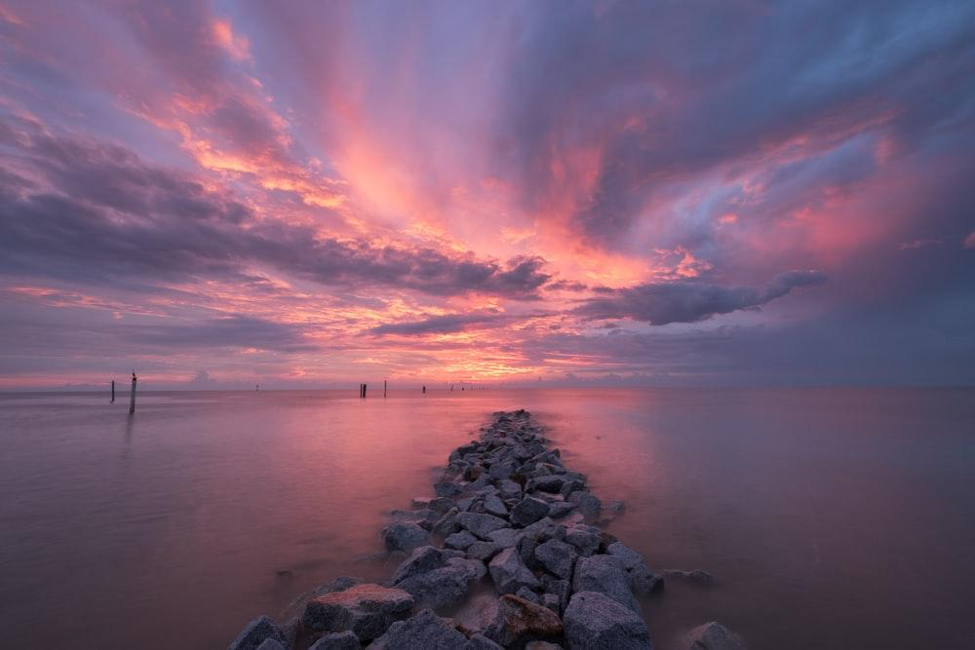
The allure of night photography is unparalleled. An ordinary view during the day might morph into something incredibly stunning by night. In the past, it was difficult to capture the beauty of the night sky, but the digital revolution has made it possible now.
Anyone with the right equipment (readily available and relatively inexpensive) can do stunning night photography with a bit of practice.
Here are seven tips for taking astonishing night photographs:
1. Camera Equipment
For high-quality night photography, you’ll need a professional mirrorless camera or a good SLR. A wide aperture lens is helpful as it lets in a lot of light. A tripod is also vital for taking properly focused pictures.
2. Camera Settings
- Shutter Speed
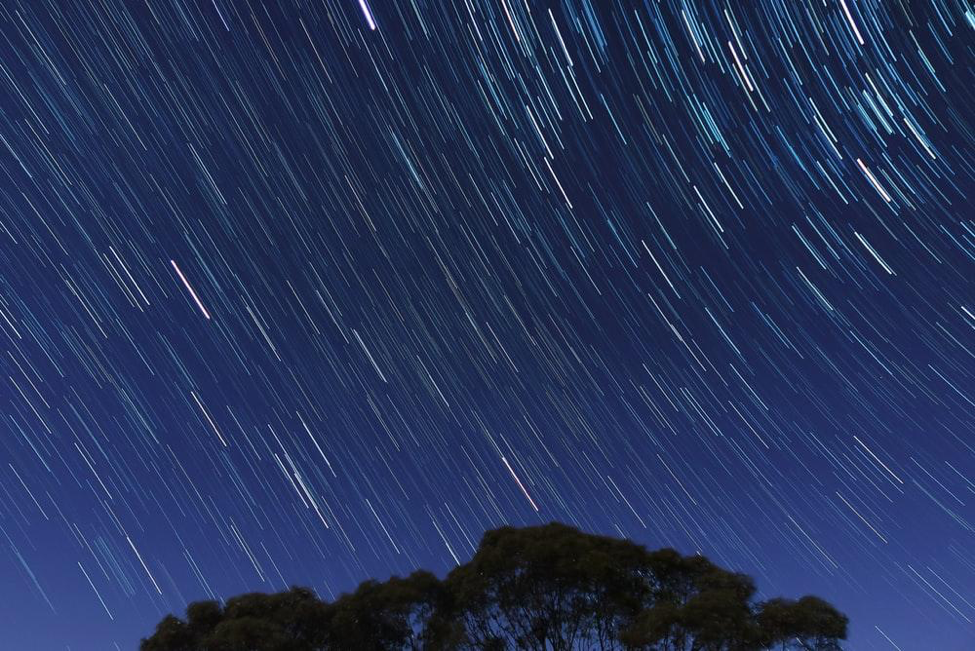
High exposure will result in a higher quality image than low exposure. Too long exposure will create small star trails in your image as the stars move across the sky. To get maximum exposure without creating star trails, you’ll need to use the following formulae:
a. 500 / focal length of the lens
For example, 500 / 17mm= 29.4 S
So, 30 seconds would be your shutter speed.
b. For crop factors use, crop factor x focal length of the lens then, divide 500 by the answer.
For example, 1.5 x 16mm = 24mm
500 / 24mm = 20.8
So, 20 seconds would be your shutter speed.
- Aperture
Use the widest possible aperture to let in as much light as possible (the lowest number aperture is the widest). This will minimize the noise in the image.
An exception to using the widest possible aperture is when you’re using an extremely fast lens. This may yield softness at the corners of the image.
- ISO
Use the highest possible native ISO to get minimum noise. Avoid using extended ISOs.
An exception to this rule is if it causes the highlights to be blown out in the image. You can check this in your histogram. A spike at the far right end of the histogram means the highlights are blown out.
- Focusing
To get a night shot in focus, it’s best if you get your focus right during the day. You can also focus on infinity. You can also focus on the moon, a bright star, or a close foreground object.
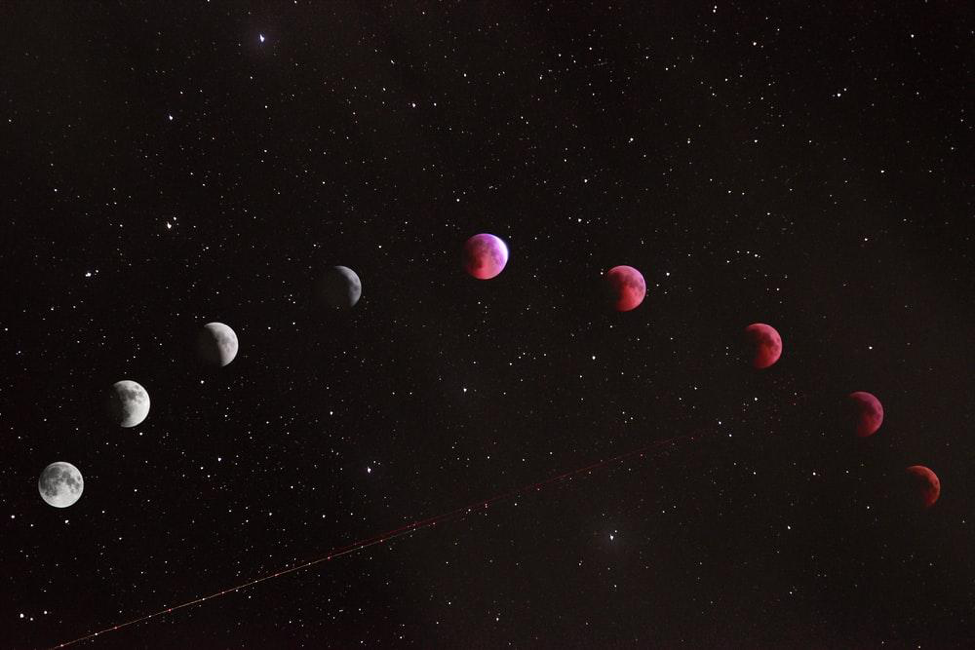
3. Moon Phases
Knowing the moon’s phases and paths is vital for night photography. Here are some pros and cons of shooting under different phases:
- No moon
Advantage: The camera captures more stars
Disadvantage: Less light means more noise.
- Full Moon
Advantages:
- You will get less noise.
- It will illuminate the foreground and bring out the detail of the scene.
Disadvantage:
- Obscures the light of the stars. The skies won’t look as impressive.
- Crescent Moon
Advantage: Obscures the stars much less than a full moon.
Disadvantage: Does not give as good a result as full or no moon for their respective advantages.
4. Twilight
The three stages of twilight are around 30 minutes each depending upon your location and the month.
- Civil Twilight
Occurs just before or after sunrise and sunset, respectively. These images will look like they were taken during the daytime. You can also capture the belt of Venus during this time. You’ll only be able to capture the moon and the brightest stars.
- Nautical Twilight
After the civil twilight in the evening and before it in the morning is the Nautical Twilight. It will look quite dark to the naked eye, but the camera can still capture the light hitting the landscape.
You’ll get good colors in the sky if you’re facing the sun. Images will have the best light on the land if you’re facing away from the sun.
- Astronomical Twilight
During this time the sky appears almost completely dark. However, there is some sunlight refracted through the atmosphere that can be captured by the camera.
If there is no moon or a thin crescent, you’ll be able to capture the Milky Way in your images. A brighter moon will yield a blue sky, lit foreground, and some obscured stars.
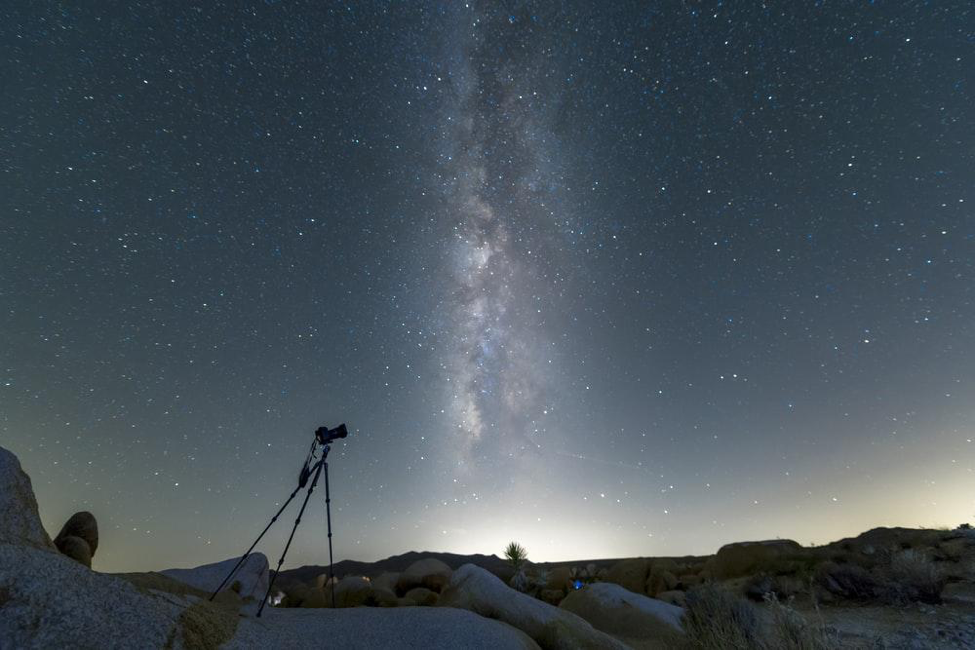
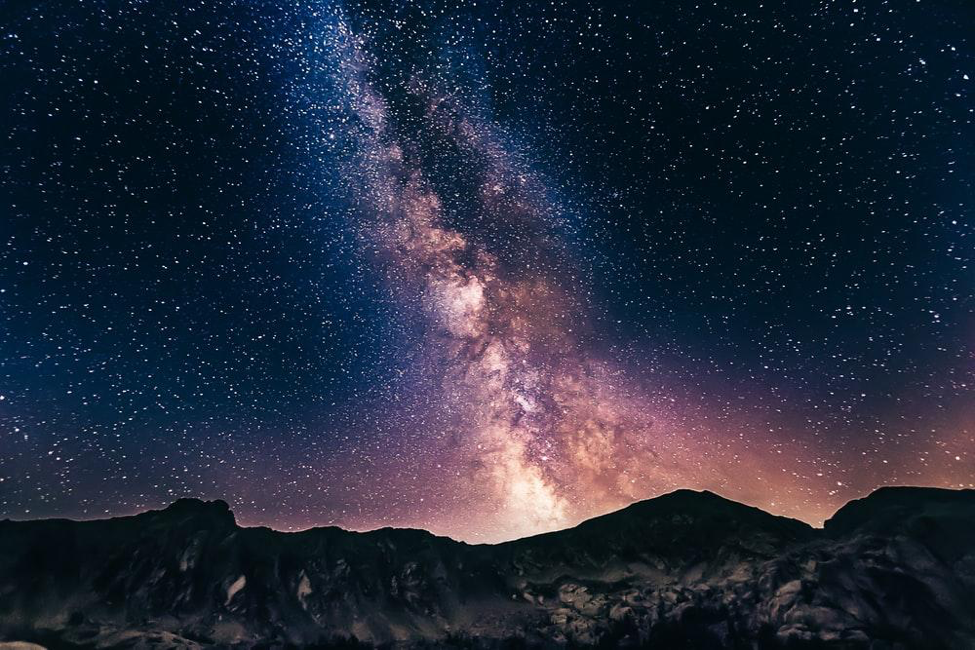
5. The Milky Way
To capture a fragment of the vastness of the Milky Way, you’ll need a wide-angle lens or create a stitched image.
6. Combining Exposures
You can combine multiple exposures to get higher-quality images during night photography. For example, you can take multiple images of the land and stack them to reduce noise. Then you can blend it with a single image or stacked image of the sky.
You can also take an image of the land during twilight and blend it with a picture of the night sky. You can shoot smaller parts of the scene and stitch them up to get a high-resolution image.
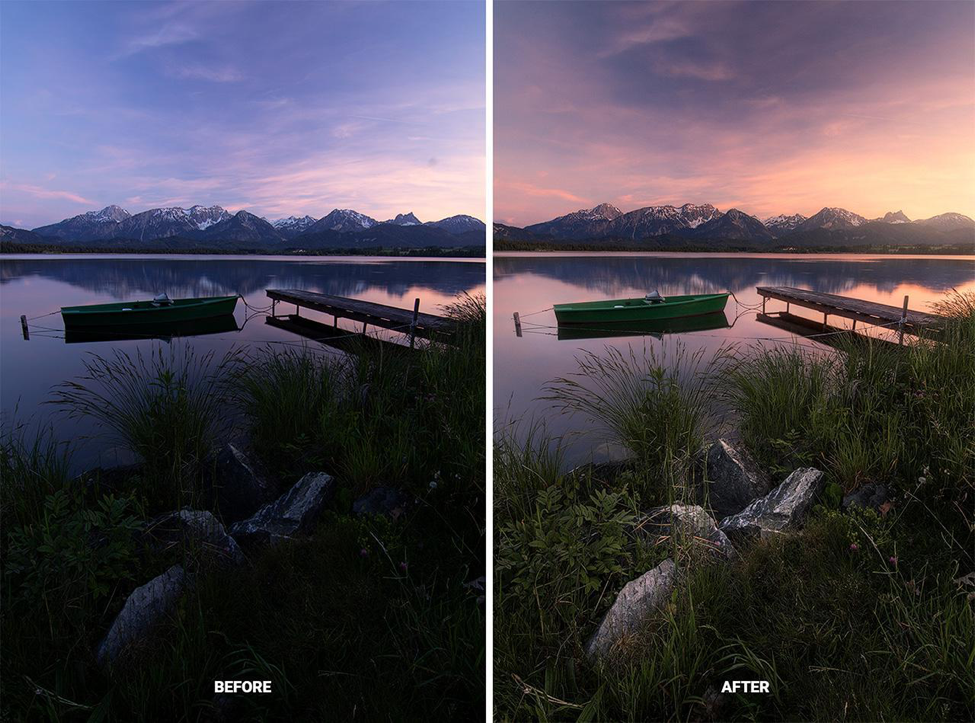
7. Post Processing
In this digital age, knowing image post-processing is necessary to reach the full potential of quality night photography.
These are some of the many tips that can help improve your night photography. It’s good to have proper photography tools, navigational and post-processing software for quality night photography. Grab this free PDF guide on night photography by Grant Collier NOW.
Click!