Hi everyone! Today I will be talking about my editing workflow. I am going to tell you about all of the details from the last snap of my camera, to the thank you email, following the album submittal to my client, and everything in between. There are so many ways to do this and I’m sure I may have some steps that may seem odd, but it works for me. I hope that some of them may work for you too.
My typical workflow is as follows:
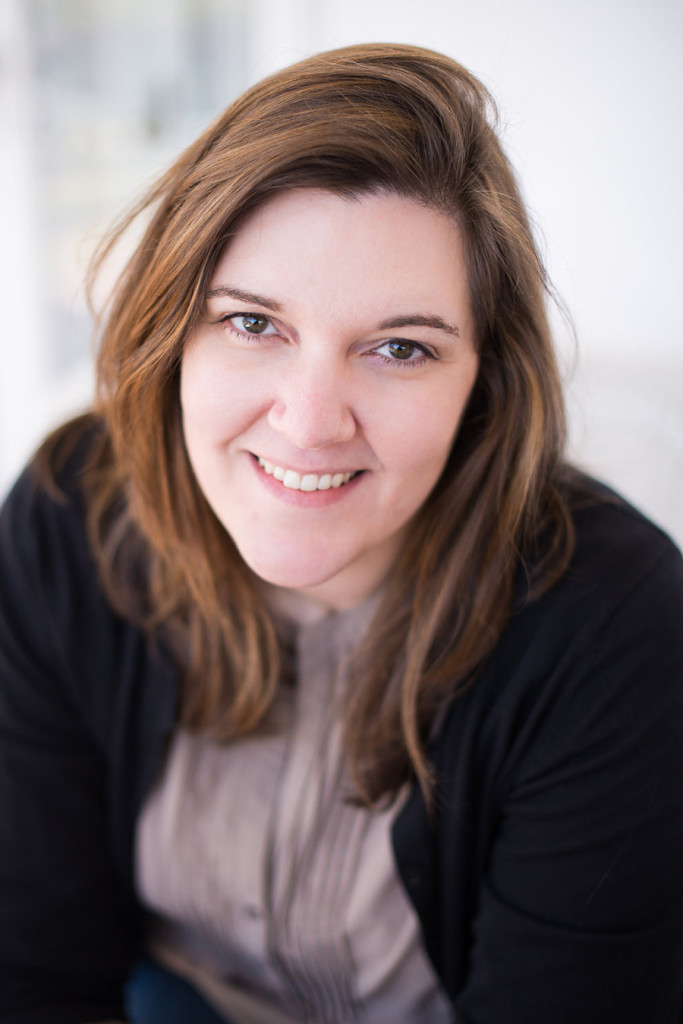
First, the fun part…. shoot the session.
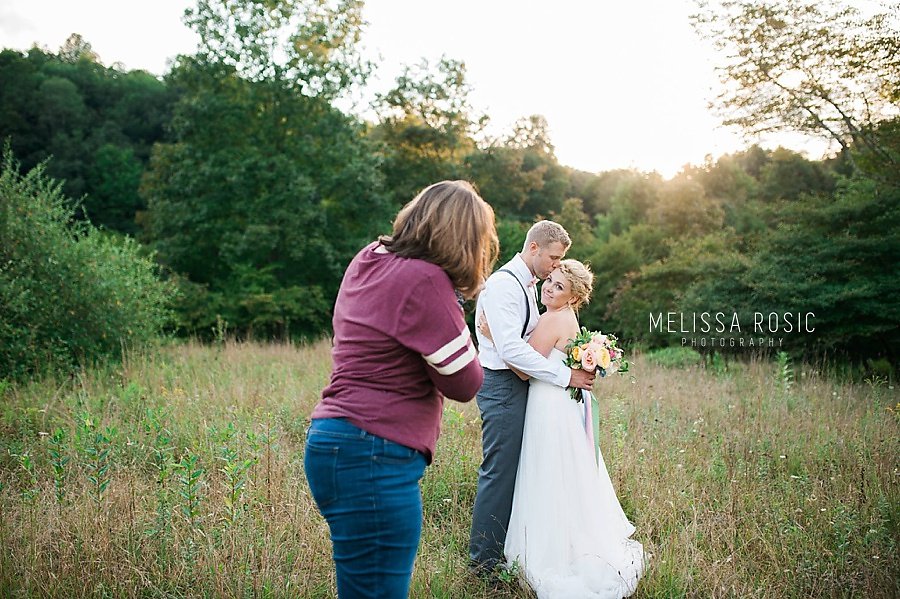
Photo Credit: Ashton Kelly Photography
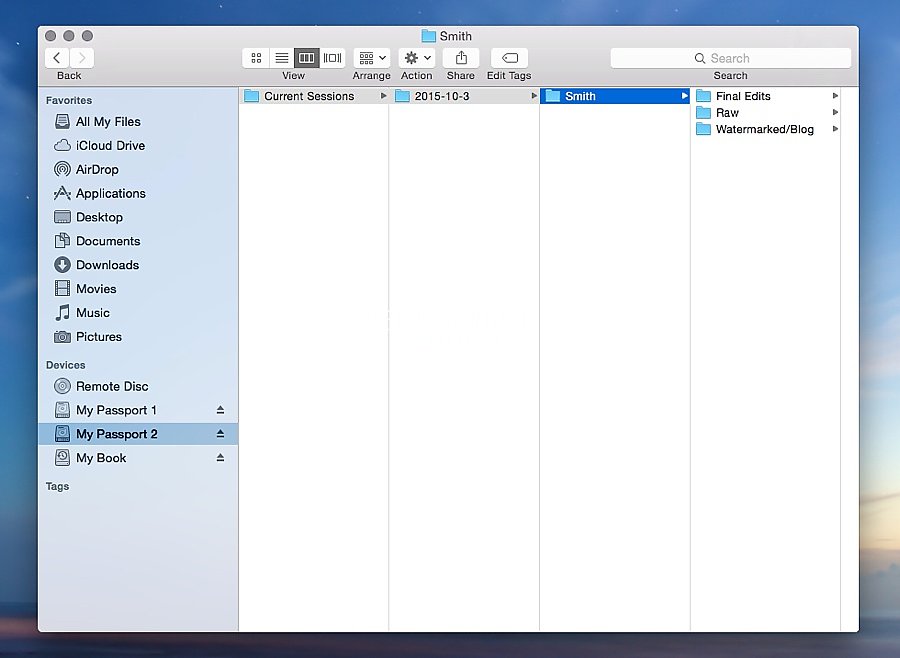
After the session, I immediately save files to my external drive.
All files are saved in folders named with the date and last name of the client. This is really helpful when I have more than one session that are all held on the same day. As I can then organize by the client’s name.
I then create subfolders within the client folder for raw images, watermarked/blog images, and final edit images. My folders look something like this…
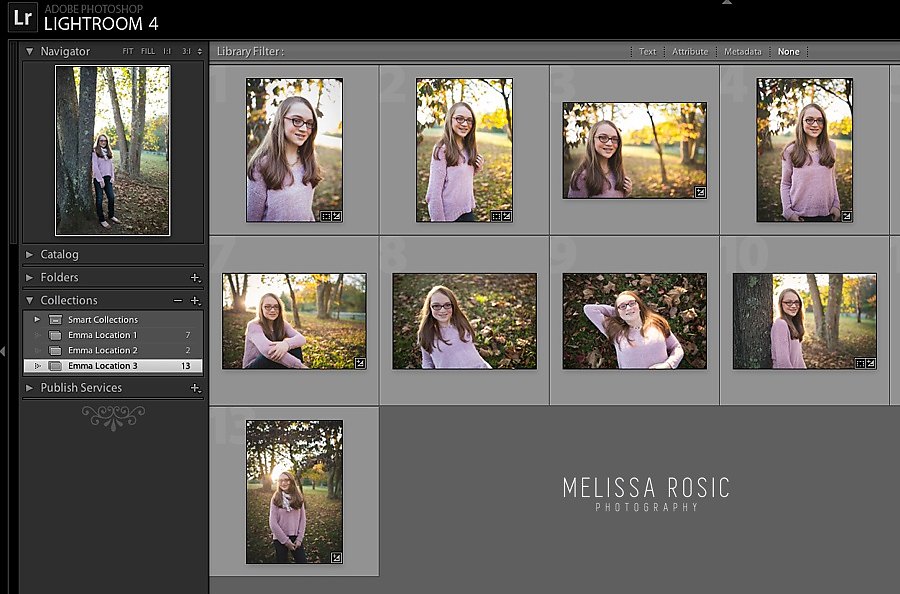
Next, I import all raw files from my external drive into Lightroom, cull the images, and delete all non-usable files.
Then, I edit a few images that stand out from the session and share 1-4 images on social media.
Now, on to editing my images.
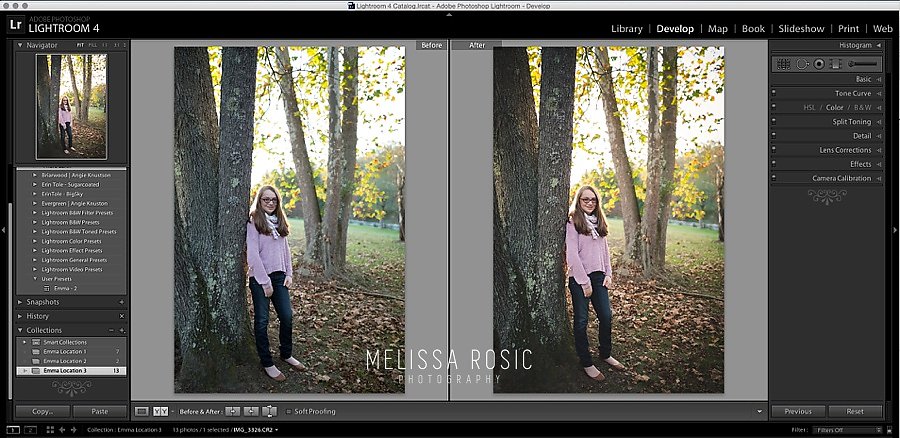
First, I group images from a similar section of the session and create collections in Lightroom. This will help keep the image edits cohesive.
I love backlighting and try to always include images with that specific detail. Because of this I tend to underexpose when I shoot. I like to bring the colors and lights back up during editing.
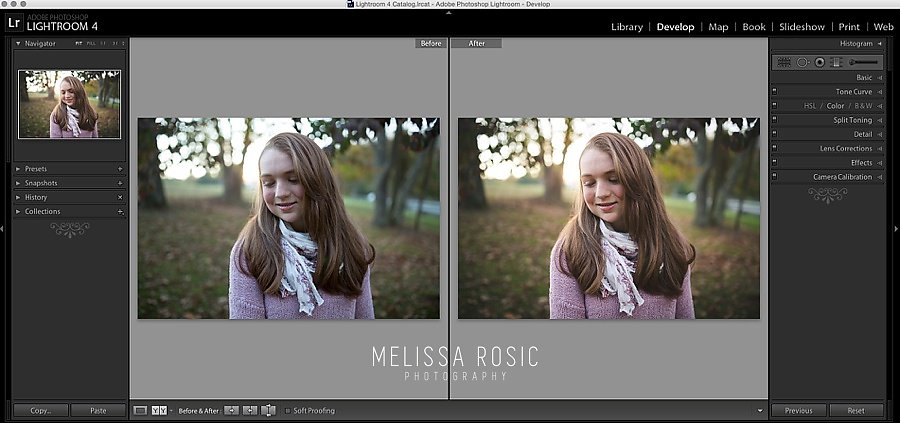
Typically, I will apply a preset from one of a few collections that I have purchased (I have my favorites from Sarah Beth Photography and Angie Knutson Photography) and follow with hand editing to tweak the final edit. This usually includes adding a little warmth with the temp slider, maybe some cropping and straightening, ending with some skin smoothing or blemish healing. I also like to add a slight amount of matte to my finish by adjusting the tone curve by pulling the curve up on the left side.
After I obtain the my desired look, I create a secondary user preset from the first image that will I apply to all files from that collection. Most of the time the secondary preset will work, but there are times I need to make minor changes (most of what I listed above) after it is applied.

I then export images from Lightroom into the final edit folder on my external drive.
After all images are finalized, I upload them to Pixieset, along with a print release, and the album is then sent to my client.
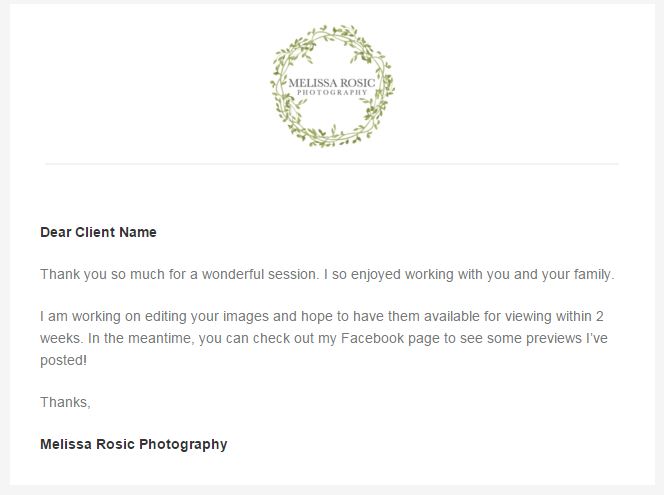
To finalize my correspondence with my client I send a Thank You email. Here is what it looks like
Next, I upload images to Blog Stomp to create additional files that I will share on social media that include my watermark. I will also create a few collage arrangements that are included in a blog post.
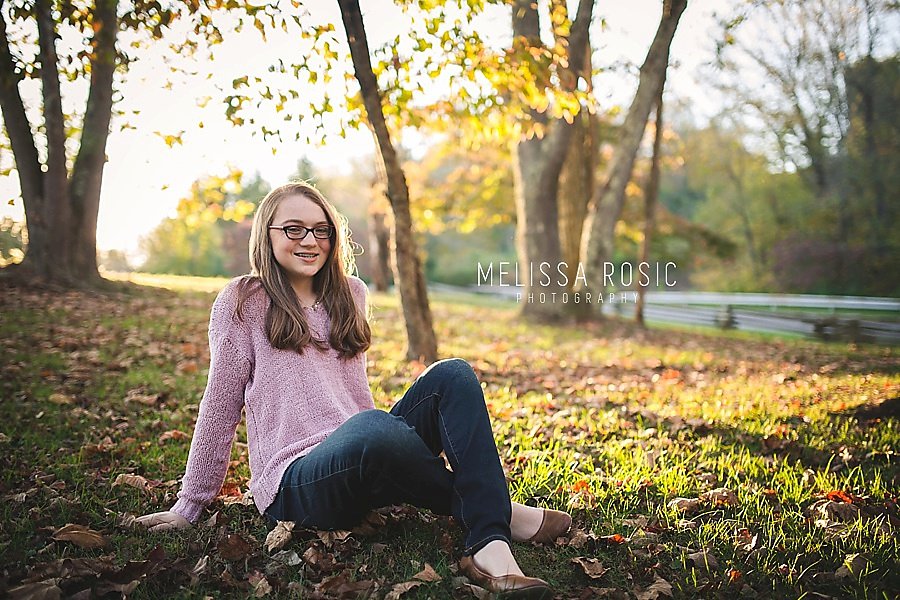
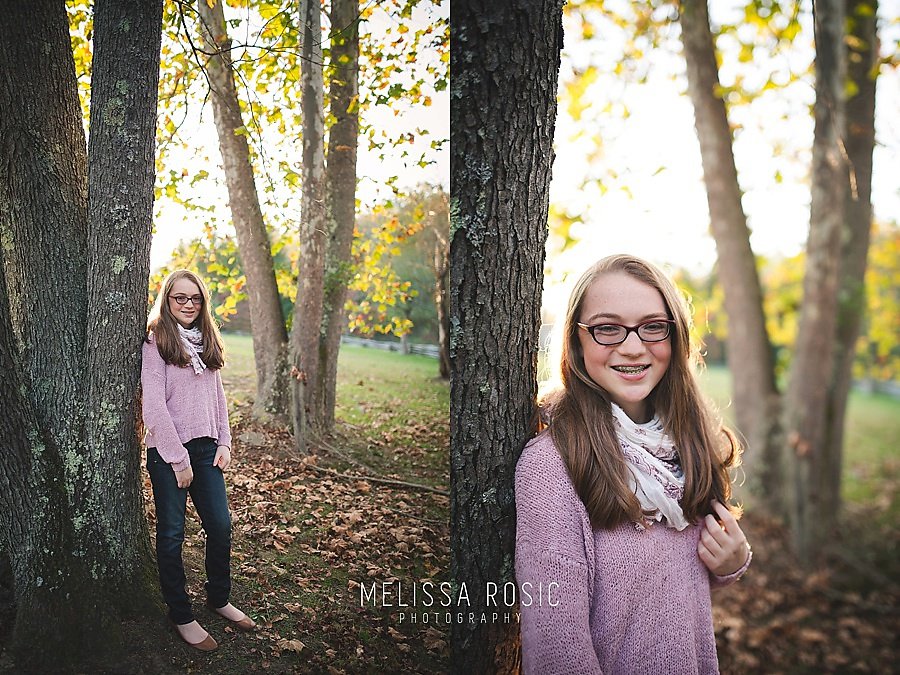
Here are a few images from this young ladies session.
 Melissa Rosic is a self taught, on-location, natural light family and children’s photographer based out of Fairmont, West Virginia. She began her photography journey as a mom who wanted to document her sons life in a creative and artistic way. Her style includes simple and classic portraits mixed together with laid back lifestyle images that capture family connections and children’s natural personalities.
Find Melissa Rosic Photography on the Web: Website | Facebook | Instagram