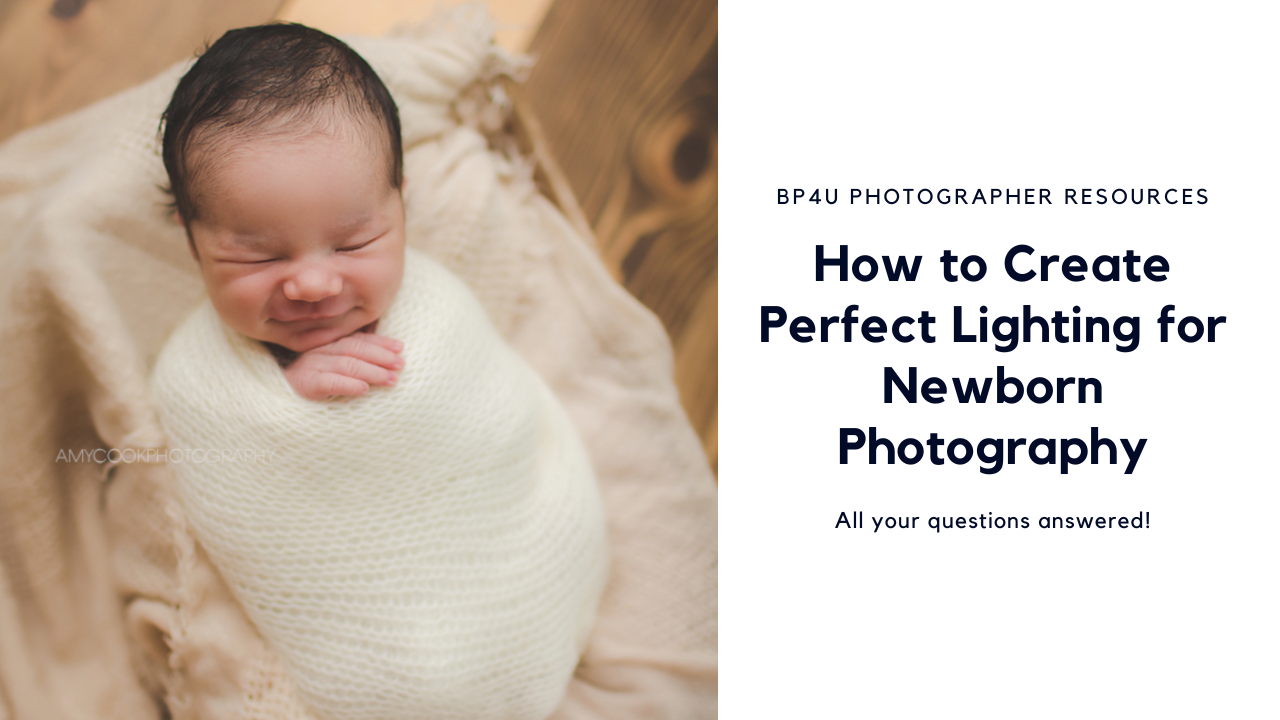
Lighting Settings for Newborn Photography:
ISO 100-200: This doesn’t change often during the newborn session, but can. If I need to brighten or darken my exposure, I’ll do it by either changing my flash power, OR changing my ISO. Both will do the same thing.
Shutter speed: 200 or 250 depending on if I’m shooting with my 6D or 1DX. You want to use your camera’s sync speed- if it’s too high the flash won’t fire at all, OR you’ll have a big black bar across the bottom of your image. This is because the shutter opens and closes quicker than the light is able to illuminate the entire scene. My shutter speed almost never changes during the session.
Aperture: Set to what you need to be at depending on what you’re shooting. I’ve shot at f/1.4 with my flash being on lowest power and my ISO around 100, and I’ve shot at 4 or higher with my ISO OR flash power dialed up higher. I can’t give you an aperture to use, that’s based on the photographer’s preference for the image!
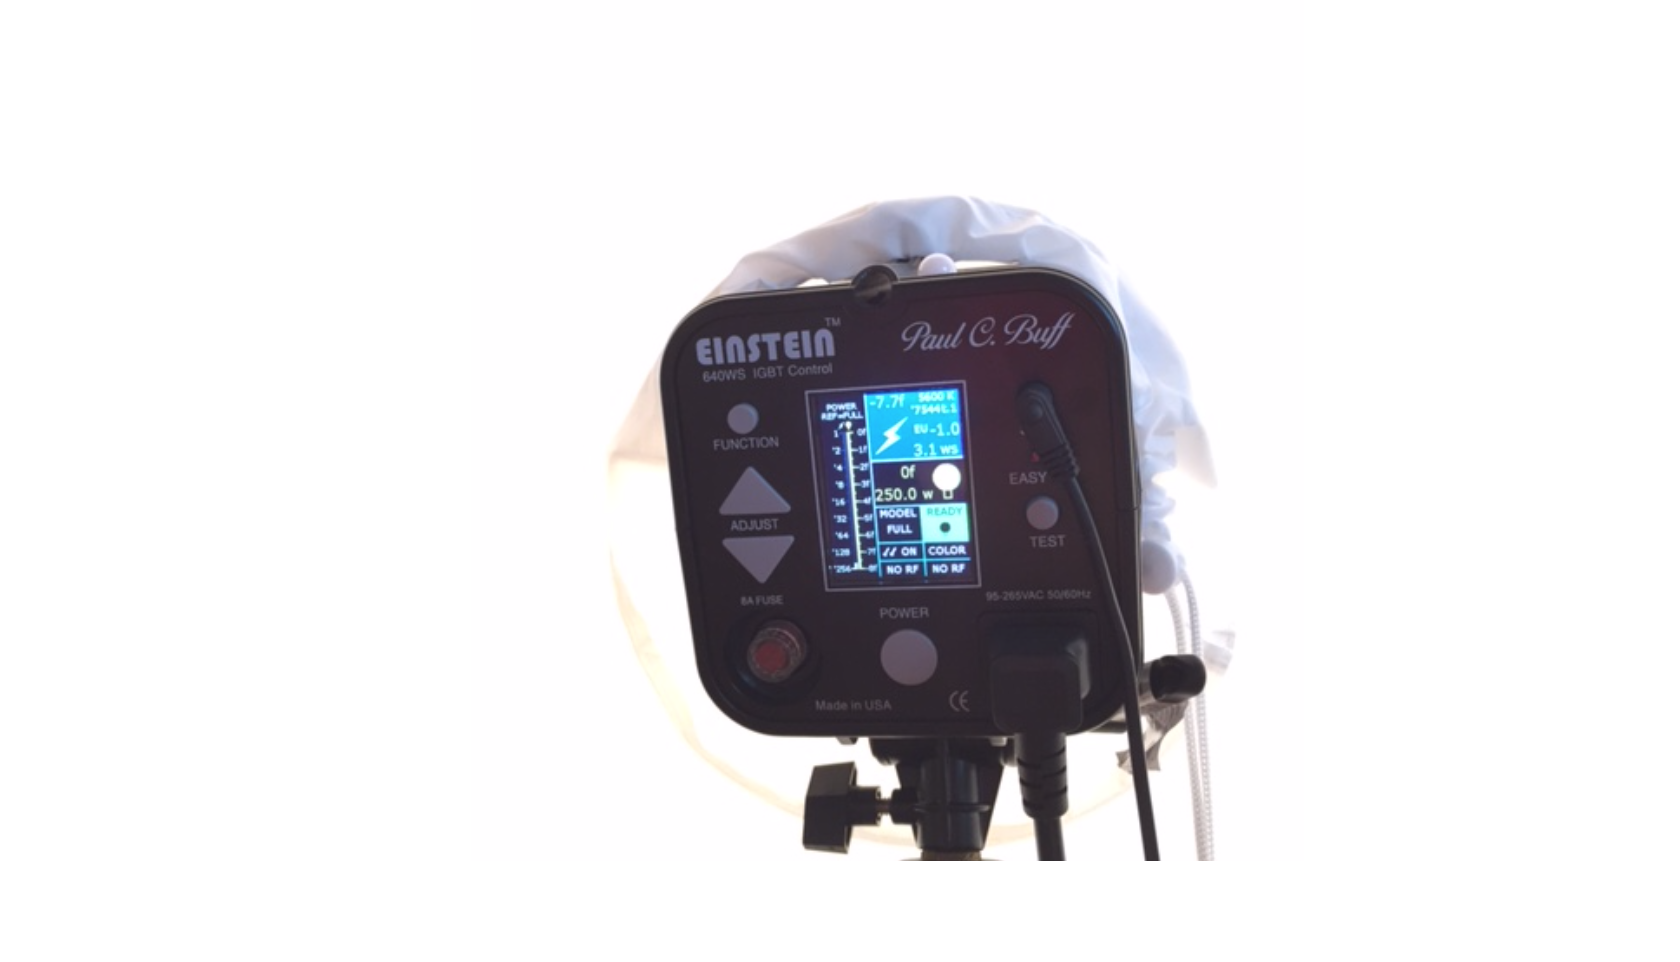
Flash Power: I used to have an Alien Bee 400 and then went to the Einstein 640- since I’m usually leaning toward the wide-open range of Apertures when shooting to minimize background/distractions, my flash it usually set to the lowest power at most times.
Whether you are die-hard natural light photographer, or use studio light (whether necessary, or just by preference!), the basic concepts of lighting are going to be the same. How you treat your light source may vary slightly since studio light is more powerful than natural light and can be modified- but overall, I utilize them in the same way.
I was a die-hard natural light photographer for 5 years. It wasn’t until 2014 that I had finally gotten my own permanent studio, and was able to setup studio lighting and use it whenever I wanted to. I already knew how to use off-camera flash at this point, so it was just a matter of incorporating it into my studio! I wasn’t too versed in lights that weren’t the Canon speedlights, so I polled some friends, did a ton of Googling, and decided to go with the Alien Bee lights.
I had used Pocket Wizard triggers in the past, but ultimately decided this time, to go with the Cybersyncs (also made by Paul C Buff, same company as the Alien Bee light.) The Cybersyncs I FEEL, are more user friendly.
If you are working with natural light- great! All you need is a super big window, and you’re set. You may need a reflector depending on your room situation and the relation of your window to where you’ll be shooting. I typically use my reflector for front-facing poses, or to fill in my backdrop on the opposite side of my light. I don’t rely on it heavily- my light source, whether I use my 8ft window, or my studio light, is large enough to wrap around and cover a large area.
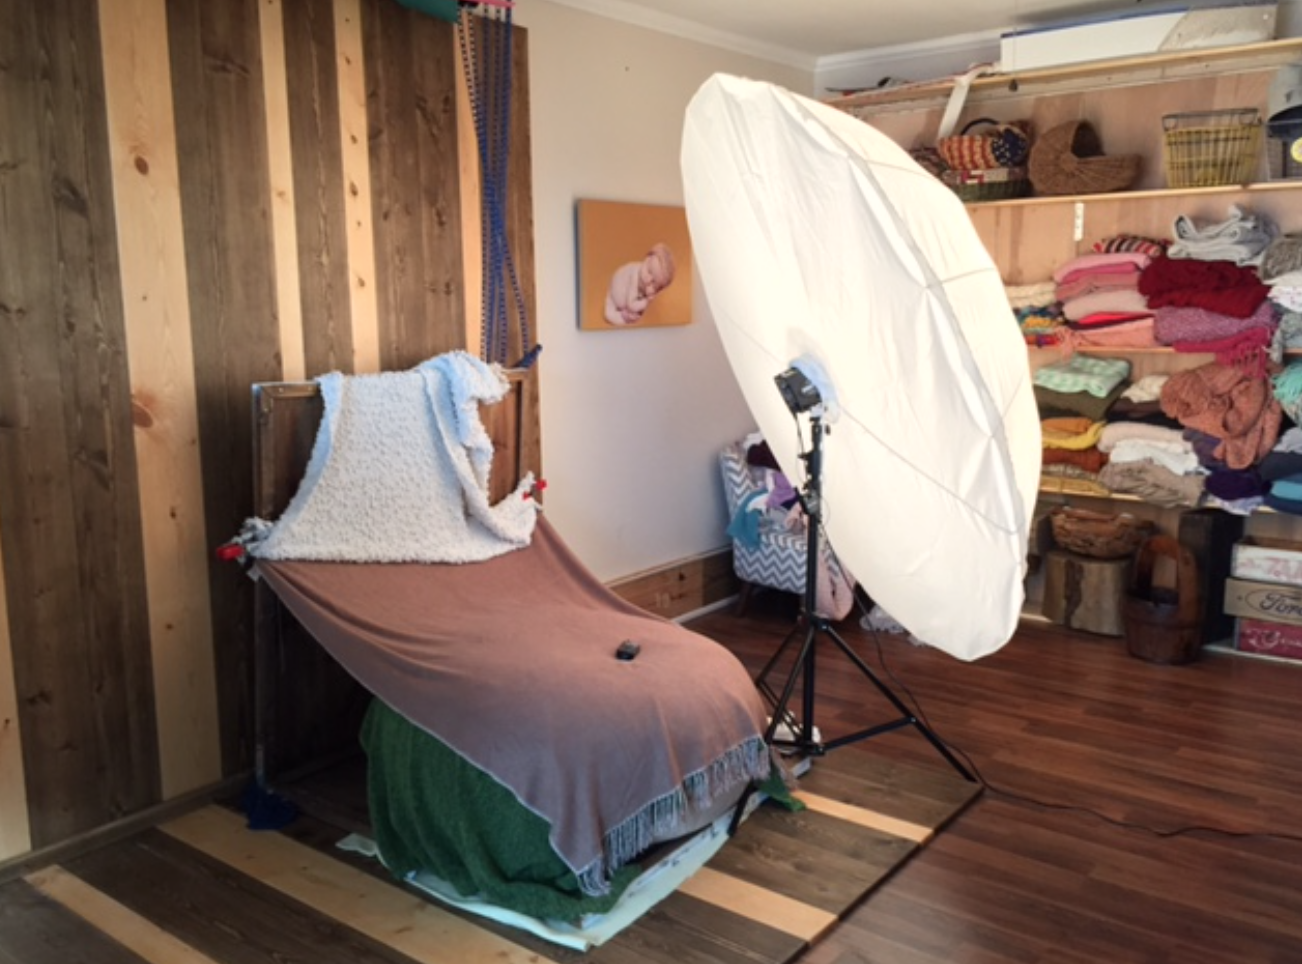
Newborn Photography Lighting Setup:
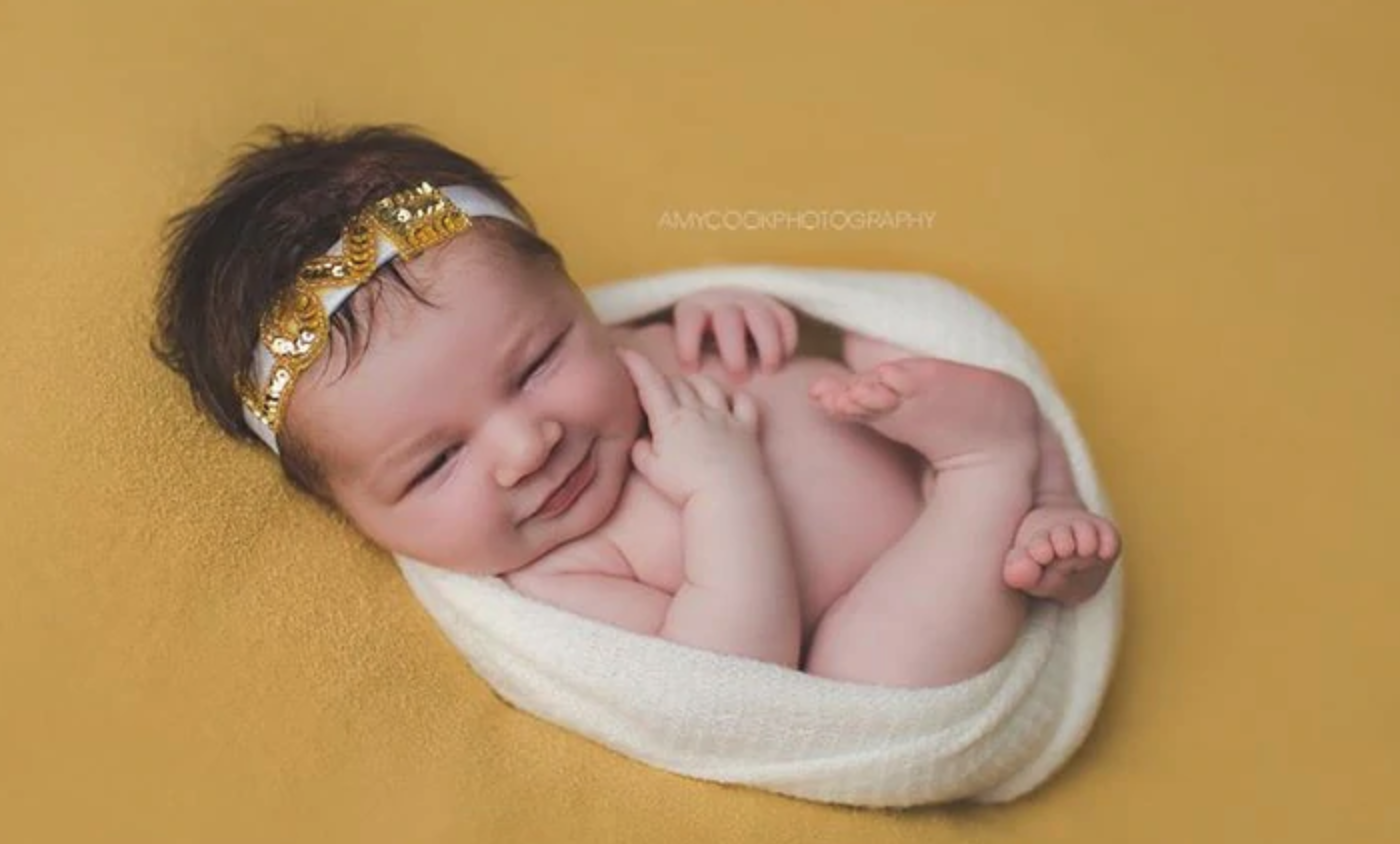
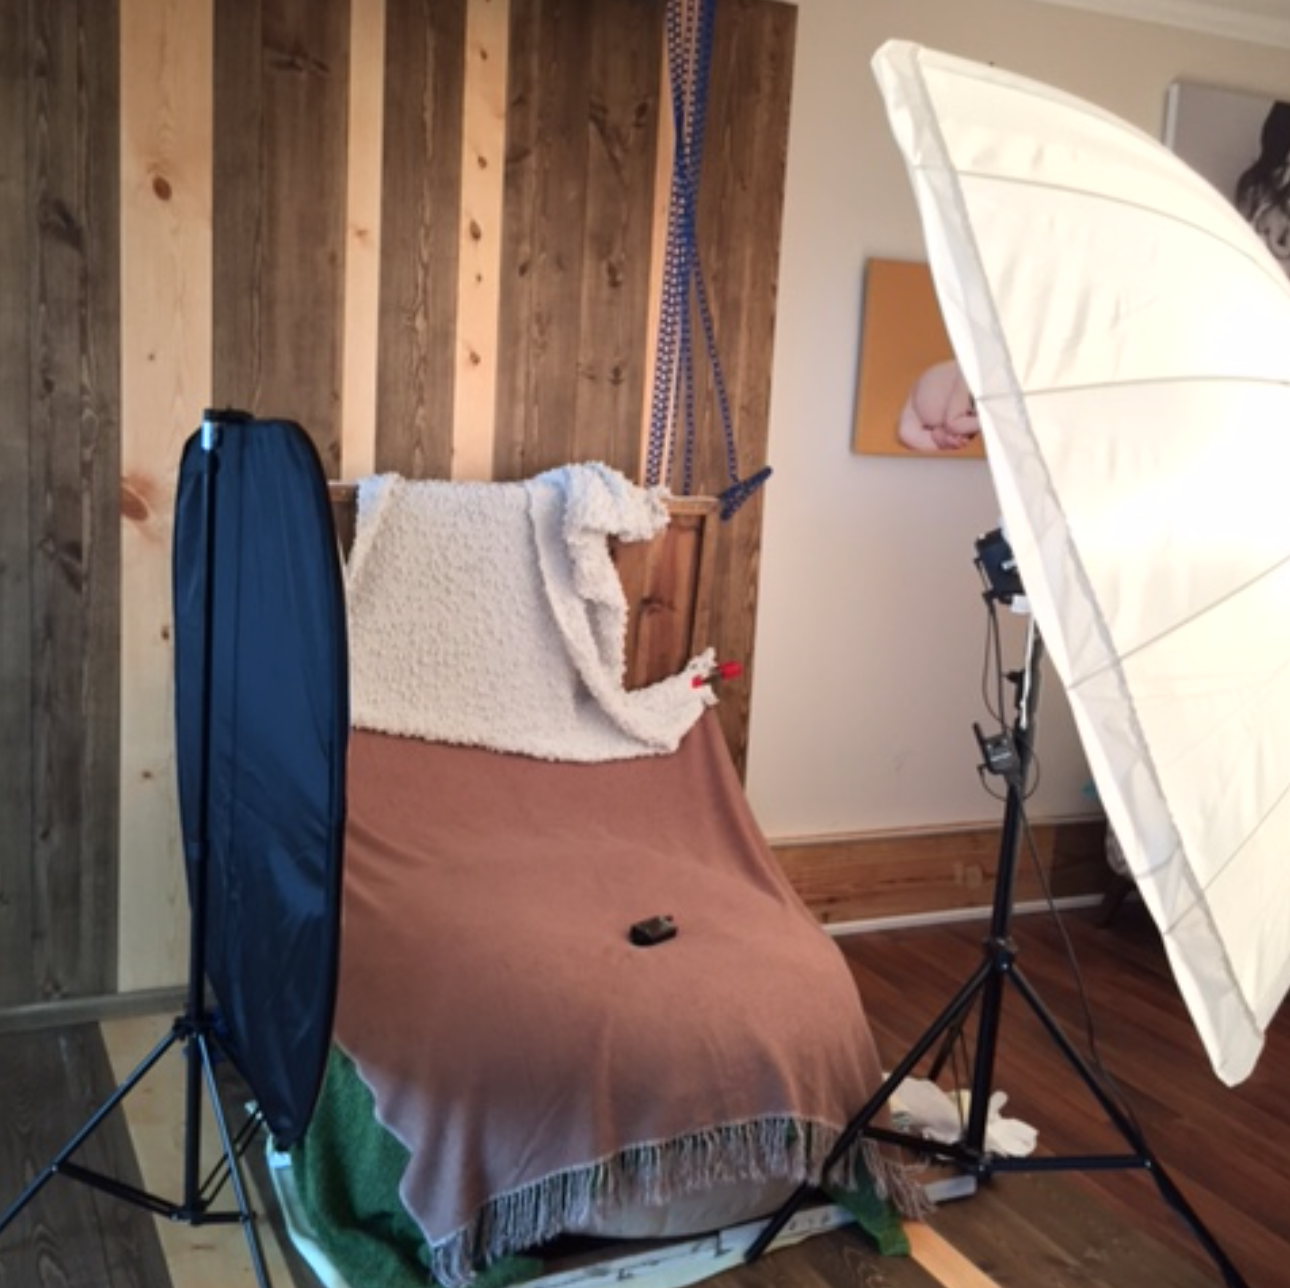
Below you’ll see how my studio newborn lighting is setup! Any light source will be feathered at a 45 degree angle, whether you are using studio or natural light. In the last photo you’ll see my reflector on the left side which I use for front-facing poses to keep shadowing soft and even on both sides. For side poses, baby’s head faces TOWARD my light, and my reflector gets turned toward the backdrop.
I DON’T want to reflect light back up baby’s nose, ever. Light should come down the head from about the bridge of the nose, softly down the rest of the body. My light is positioned close for soft, wrap-around lighting and set low. I do love this stand, but this is as low as it goes. I’m looking into getting a new one eventually that goes clear to the ground.
When shooting parent poses, I use my light the same way, but raised up to the ceiling. I shoot them on this wood, or on my seamless paper (it faces the window) using my studio light.
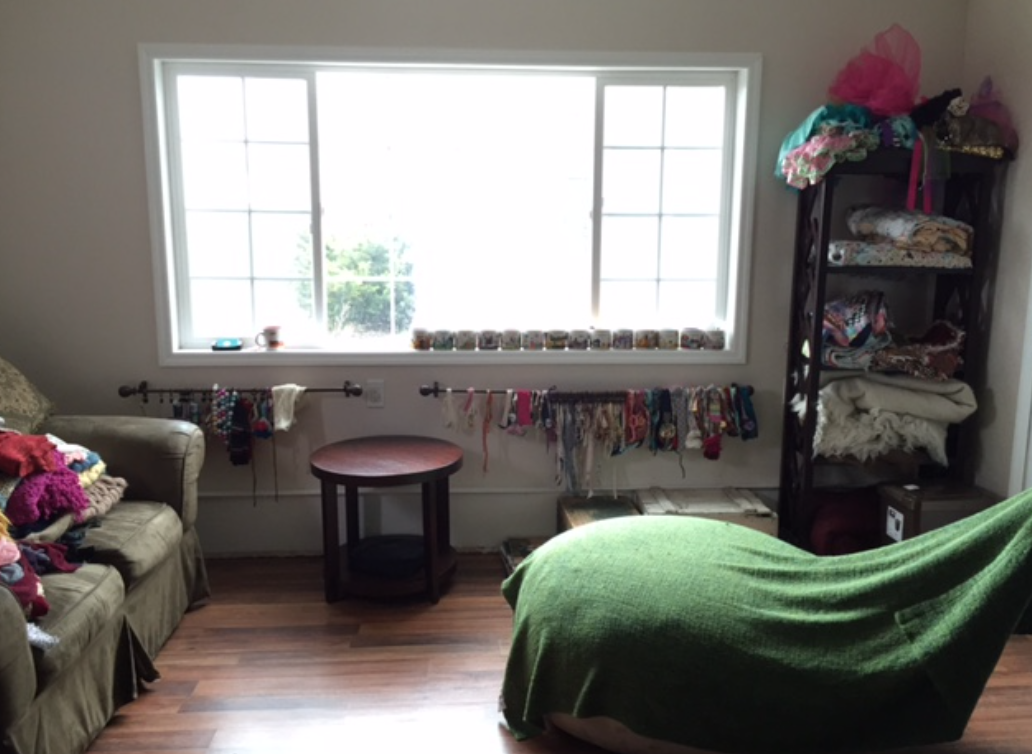
Natural Light Newborn Setup:
When setting up by a window, this is what my setup used to look like. I no longer use natural light to shoot so this was just a quick demo setup. Again shooting with my light at a 45 degree angle, making sure that it’s not coming up baby’s nose in any way. When baby lays on her side, her head will be pointed toward the window, on the left.
Newborn Photography Lighting Equipment:
I often get asked what type of lighting equipment do I need for newborn photography. Here’s a breakdown of all my studio lighting equipment.
Einstein 640 studio strobe – $500
86” PLM umbrella, white with buff speedring – $50
Front white diffusion fabric for the 86” PLM – $23
Manfrotto light stand – $114
Cybersync Cyber Commander (my trigger, for the top of my camera) – $180
BUT- I recommend the more simple Cybersync Trigger Transmitter, $60
Cybersync Plus Receiver, AC powered (just easier to maintain!) – $90
The difference between the Plus Receiver, and the Receiver, is that the PLUS can receive commands to change flash power from the camera, when used with the Cyber Commander. If you use the regular Trigger Transmitter, you have to manually adjust flash power as needed, from the light itself.
The Receiver (not Plus) CANNOT receive commands to change flash power from the camera, even if you are using the Cyber Commander which allows this. So basically- if you’re going to buy the Cyber Commander (have patience setting it up! It’s tricky.) you MUST buy the Plus Receiver. If you’re just getting the simple Trigger Transmitter, you can get the regular Receiver- but if you feel like you MIGHT upgrade to the Cyber Commander later on, get the Plus now and save yourself the loss on selling and re-buying later.
You may need a reflector. I use this Cowboy Studio 5-in-1 40”x60” and I typically use the white or silver sides – $34
Amy Cook Photography is a world renowned newborn photographer. Want to learn more from Amy? Check out her newborn photography courses.

Other Blog Posts You Might Like:
50 Free Newborn Captions for Newborn Photographers