 Hey there! My name is Melissa Howard. I am a North Texas photographer serving the Dallas – Fort Worth Meteroplex and surrounding areas. I am married to a U.S Navy veteran, and we have 2 beautiful little girls who inspire my work daily. Capturing moments to last a lifetime, is what I dream of doing. Life isn’t flawless, it isn’t posed, it isn’t perfect. Its the perfect moments of an imperfect day that makes everything work the way it should. That is what I love to capture.
Today we are going to be talking about these adorably fun bubble sessions! I’m so excited to share how to make these amazing memories with you all.
Website: www.hellomello.photography
Facebook: www.facebook.com/hellomellopho
IG: @hellomellophotography
Lets start with our subject, and making sure we have the right age group for this session. I like to keep the age around 8 months-10yrs. This will make sure the baby will be able to sit and focus more on the bubbles, and the older kids will still be interested in playing too. Next lets talk about your setup and scenery, what you choose will have a huge play in this session. I chose an area that is in the shade so I can have a darker background for my bubbles to show up better. It will also help you expose better in camera, vs shooting in full sun. I also made sure the area I picked had enough room for my kiddos to be able to run around. Any local park would work great for this. For the setup here I had two bubble machines going. I placed them off to the side, so the machines would be hidden, but also close enough for the kids to be able to run through the cloud of them. My machines aren’t anything fancy, just found them on an isle at Walmart. Fill em up and start the fun!
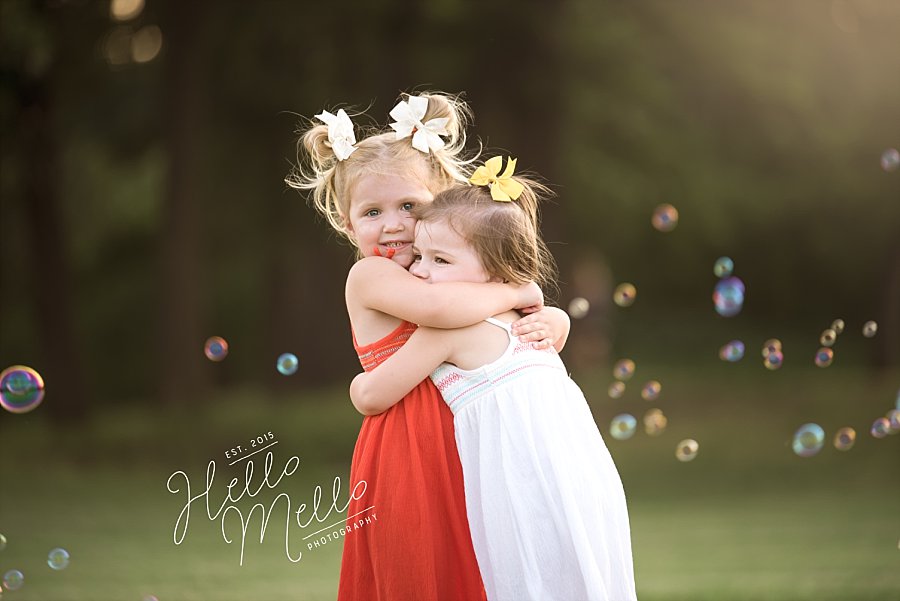
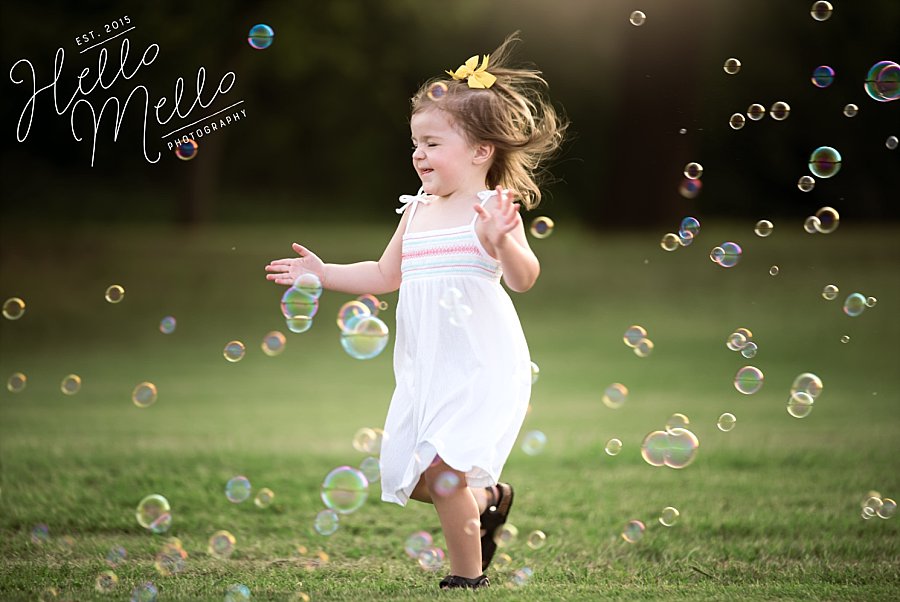
Now lets talk about capturing those posed unposed moments. My girls were dancing and running around, where of course I got some very sweet pictures. I also wanted to see them interact more so I said: “FREEZE, now y’all give each other a hug and give kisses!” You can see I captured each of their personalities easily by doing this. If you didn’t want to do hug and kisses you could easily do things like a tickle fight, make a silly face, twirl in circles, jump as high as you can, make up your own dance move, etc. etc. You will get lots of laughs and smiles by letting them do their own thing. Babies on the other hand are a little bit different, but you can play peek a boo, sing old mc Donald, and clap hands to see different reactions… but of course just them being in ahh of the bubbles is super cute.
Now we can move into talking about our light and settings in camera to help us get to this end result. I know we already talked about shooting in shade vs full sun, and that is were you should start. Unless you are shooting directly at sunset the shade will be your best friend. While shooting in shade, I still like to have the sun to my subjects back, this helps when I like to capture the amazing sun haze coming into the trees. Backlight is very beautiful on your subject as well… see how you can see the light from the sun in her hair? Now lets brake down into my settings I used in camera. ISO 250 | 200mm | f 2.8 | SS 400. Now settings always change depending on your light. These worked great for me, but you still may need to check yours if your lighting is different. First lets talk about the F stop. I like to shoot as wide open as possible, but of course will move it up with larger groups if I am having trouble getting everyone in focus. If you are shooting on a smaller focal length you may want to keep your F stop around a 2, or if you are shooting at 200mm like me and aren’t comfortable shooting on 2.8 you can bump it up as well. Once you have selected that, check your ISO. I start with mine on 250, with my SS around 400 and then take a photo to check to see how that looks. If it is too dark I bump up my ISO, if it is too bright I bump up my SS. Of course you will or already have a method that works for you.
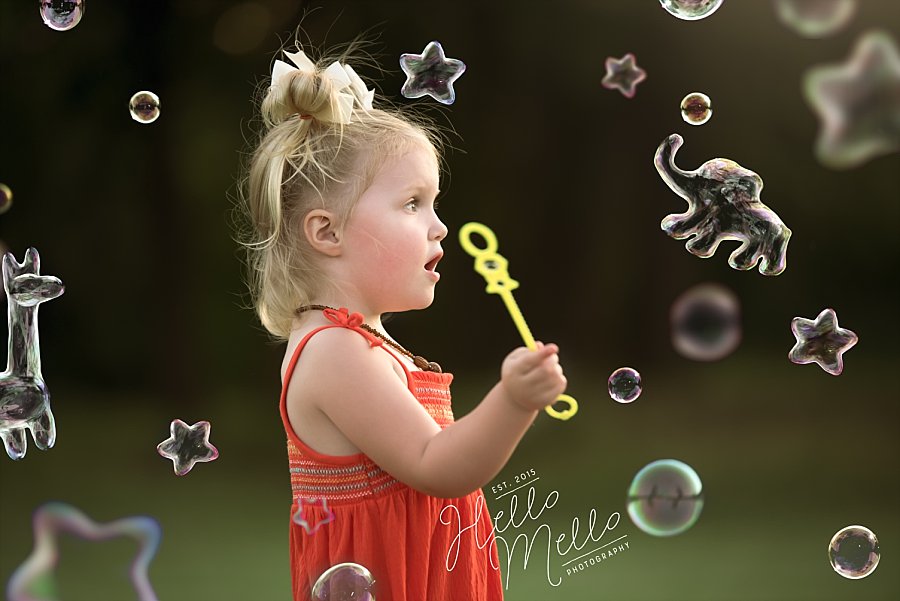

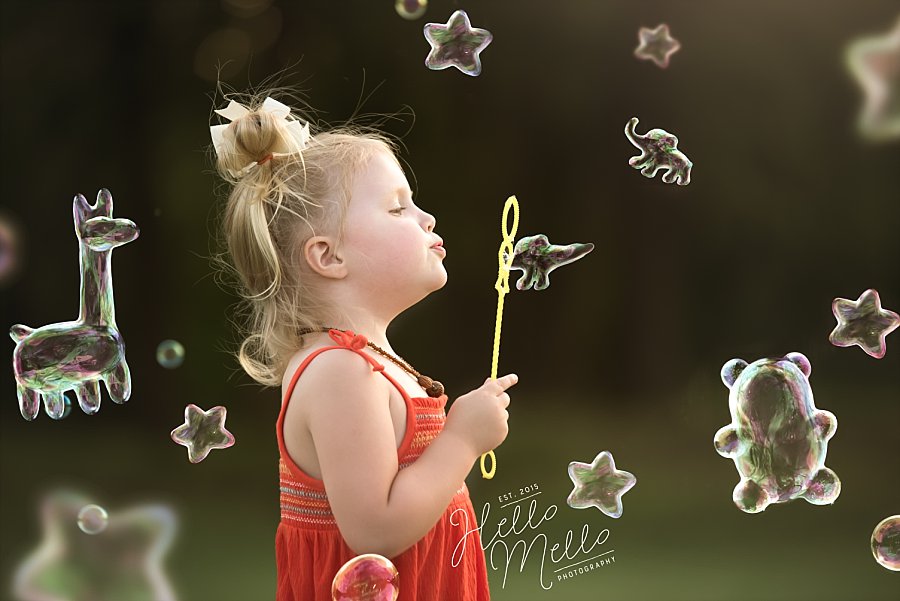
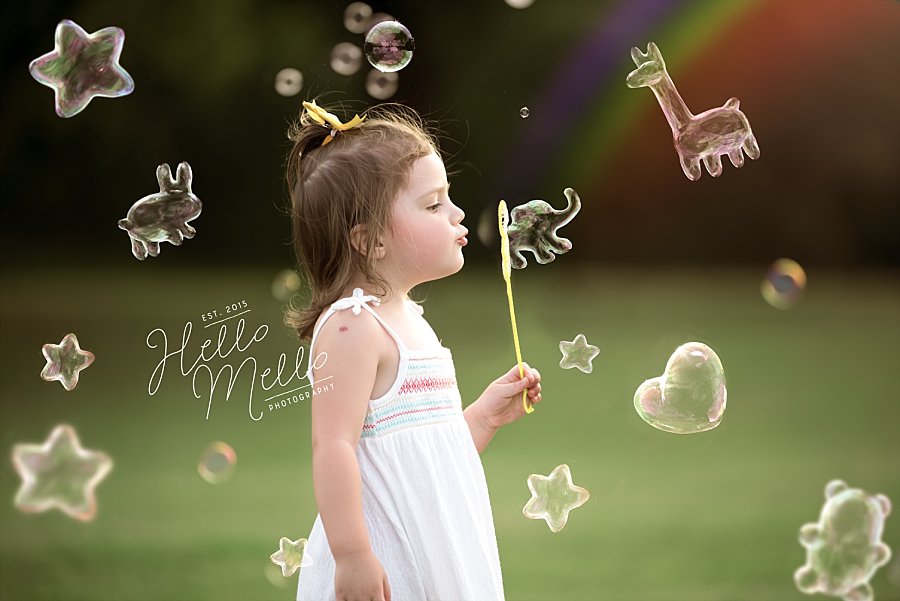
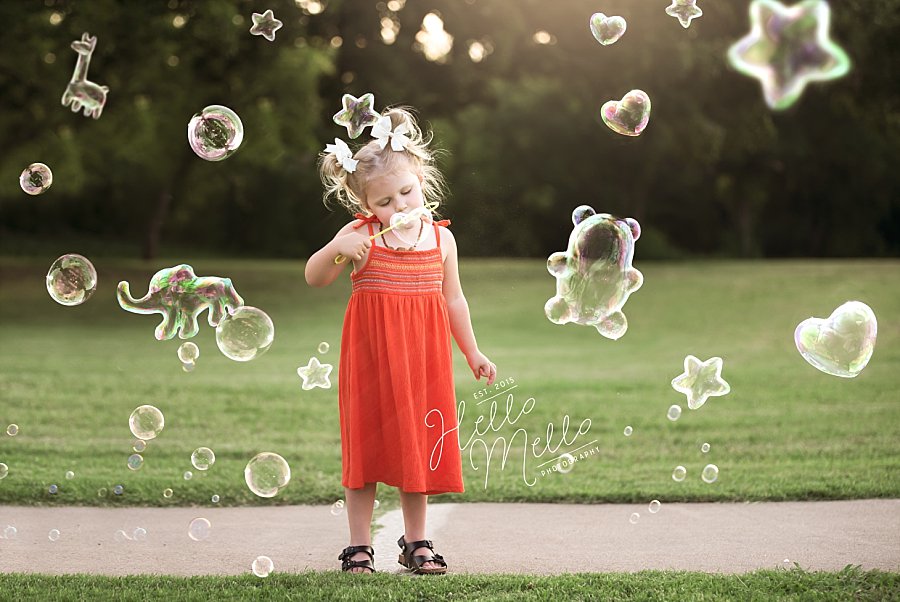
Want to get the “Wow I blew that” pose? Just hand your kiddo a bubble wand, and teach them how to blow. They get pretty amazed when they see a bubble come out. You can also say “wow look at that!!” and they get pretty amazed by them selves. I bring a bubble wand for each child to have and take home, that way the magic and fun doesn’t end when they leave the session with you.
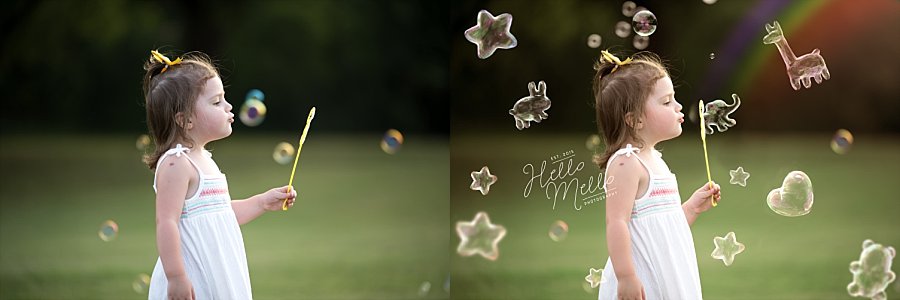
Alright now lets talk a little bit about editing and adding in these bubble shapes! I wanted it to look like my subjects were blowing these bubbles so I brought the wand in closer to her mouth. I added in these overlays (you can find these on the bp4u website, I will add the link it at the bottom) one at a time, sizing and placing them where I wanted them. Adding blur to some of the bubbles is key to make them look like they are really in the places they are. I also reduced saturation quite a bit until I felt they were blending well with my image. Once I was happy with the bubbles, I began editing my overall photo. I used both LR and PS to edit, but either would work fine. At the very end I decided I wanted to add a little bit more magic, the rainbow! I wanted the rainbow to look like it was shooting out of the bubble wand. Open your mind up and get creative, and remember to have fun with it. When your clients and kiddos see this final product they will be beaming with smiles! Thanks so much for reading, I wish you the best of luck in creating magic in the bubbles!
Click here to checkout the bubble overlays used in these photos!