We are so excited to share some great posing tips with you today from guest blogger, Andrea Bloomfield. Before we jump right in, let’s introduce you to Andrea for those who may not know her work yet.
 Hi there! I’m a 23 year old from Wyoming, Illinois — about 20 minutes from the Hog Capital of the world! My interest in portraiture began as a senior in high school when my own senior photo experience went horrible (to say the least!). Over the past 5 years I have grown into a professional photographer specializing in natural light senior portraits and absolutely LOVE what I do!
See more of my work on my website: www.andreabloomfield.com and like me on Facebook. 🙂
When I first began the arduous journey to break into professional Senior photography, I just closed my eyes and clicked over and over again. My poses were sloppy and unplanned, thoughtless at most. One of the major (and I mean MAJOR!) lessons I learned was to take your time and find poses that compliment each young lady as a whole (body type, personality, wardrobe, the list goes on and on) while also being creative. Below are my five favorite “must-have” poses, why I’ve chosen them, and how you can achieve them.
The Side Hug Pose

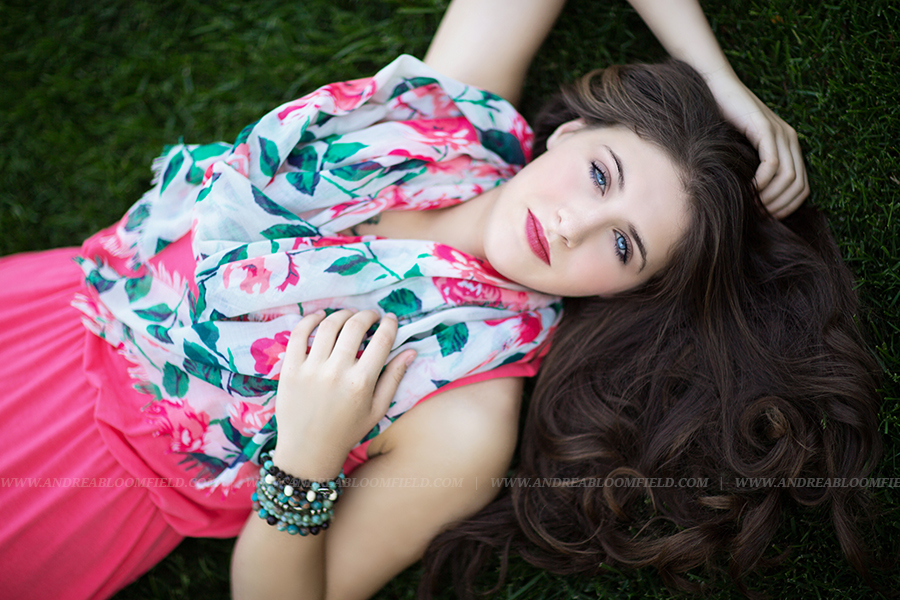
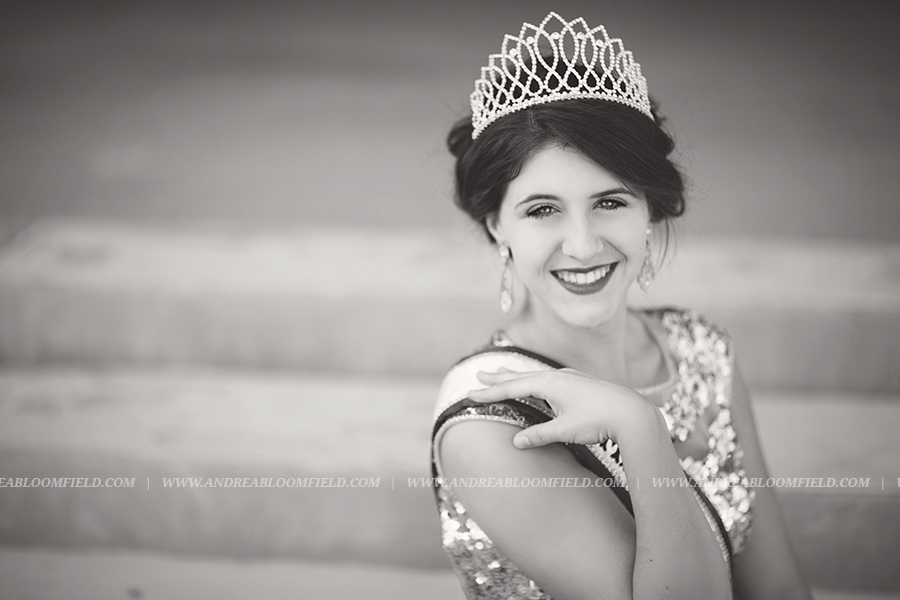
The Accessory Pose

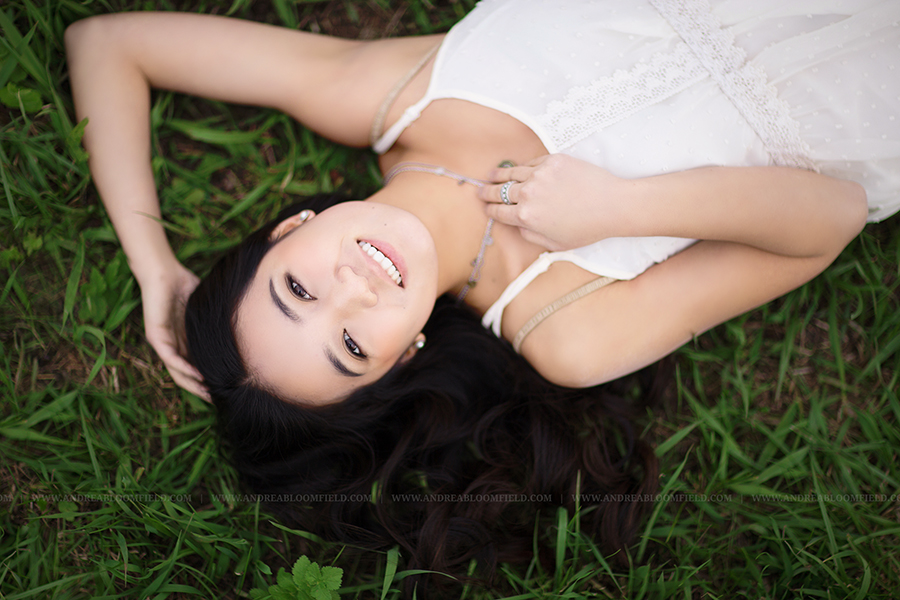 This pose works for literally everyone. Its a great way to show off all of their upper body accessories while highlighting the face. I begin by having my senior lay on the ground at about a 45º angle from myself with their feet pointing away from me. Keep in mind what side their hair is parted on, where their accessories are, how their clothing lays, etc. Before I pose the arms and head, I spread out their hair and lay it how I want it in the shot. Remember, it can take one or many tries to get the hair exactly so (I prefer it cover the entire area between the top of their head and shoulder). Once the hair is perfection, I move on to their head.
Last, but not least, I pose the arms. I always keep the top hand the same – relaxed and palm-down, fingertips nestled in the hair. The bottom hand (always choose the arm closest to your lens so it isn’t a total armpit shot!) really depends on the accessories. Necklaces and scarves are shown above while those without accessories could rest their hand on their face, their belly, hold on to their clothing somehow, etc. Get creative!
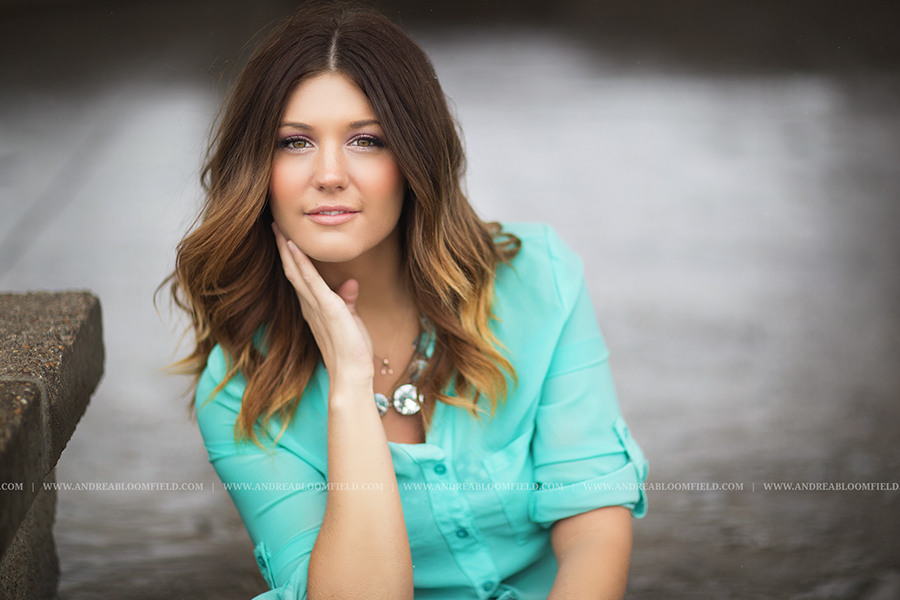
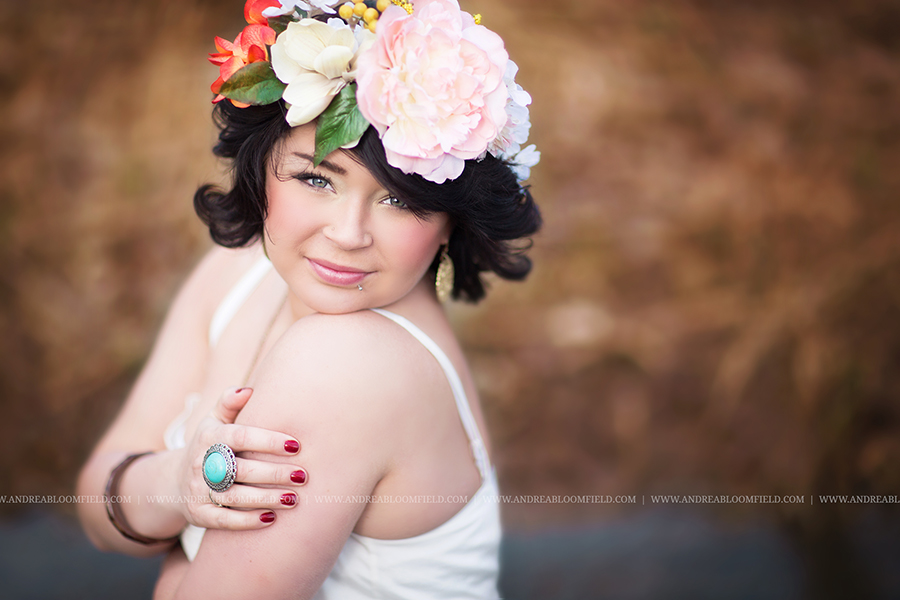
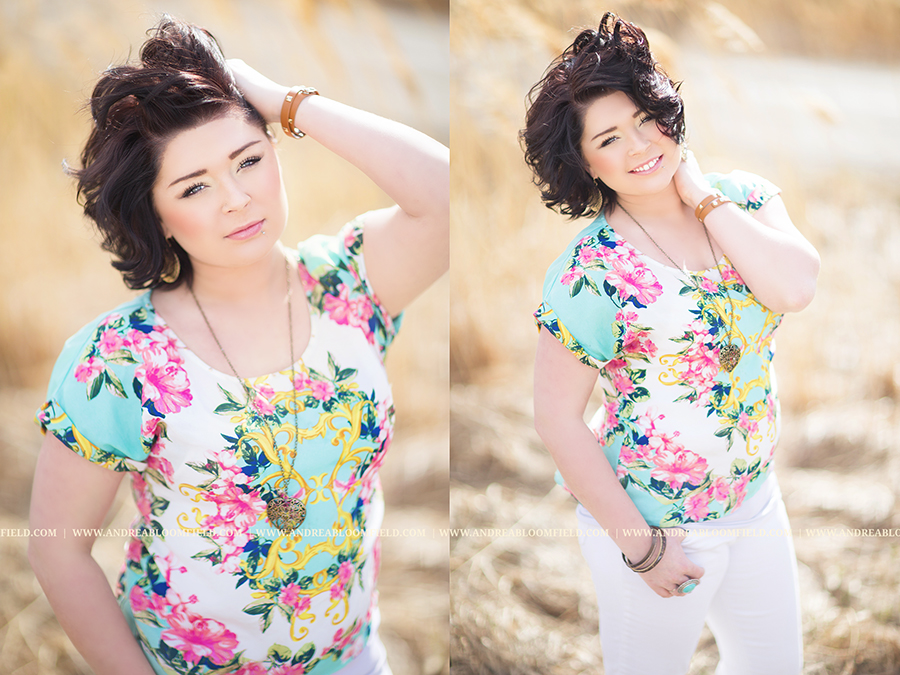
 This one can get tricky because of “awkward” hands. It’s hard to explain how to relax a hand just enough so it doesn’t look like a claw! Again, I begin by explaining exactly what I need their hand to do. A trick I often use is to have them drag their hand down the side of their face gently and very slowly starting at the cheek bone while I take several action shots. I’ve found that’s much easier than trying to hold a relaxed hand still against your face and it also provides variety because each person will do it differently as you can see in the above two images. You can then look back and explain how you would like them to do it differently if need be. I usually get a few laughs out of this one also which is a plus! I typically use this pose sitting down but it can be combined with the side hug pose or pocket pose while standing up for a little twist.
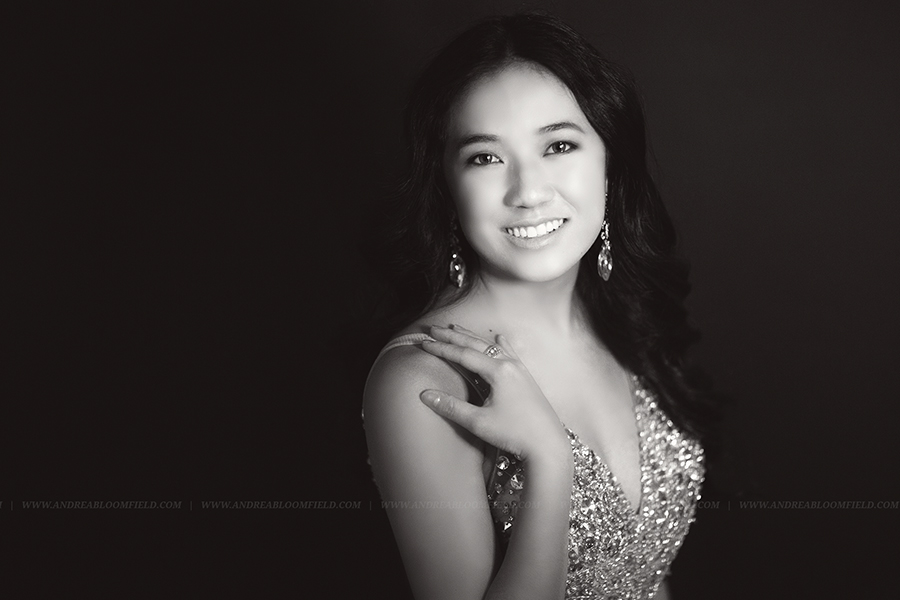
 Again, this is another one of my “must-haves”. I always make sure my ladies are at a 45º angle facing away from the sunlight. I then have them turn their head until it is facing me directly. I always have to have them turn it even more to the point where it feels a little awkward to keep it balanced. I then have them straighten their arm straight out from their body palm up, bend at the elbow, and then drop their arm so their wrist is at 90º. From there you can play with wrist angles to see which fits your subject best. This pose is super easy and can be nailed by anyone. I love it because it’s so incredibly simple but gives my images a little extra oomph when necessary.
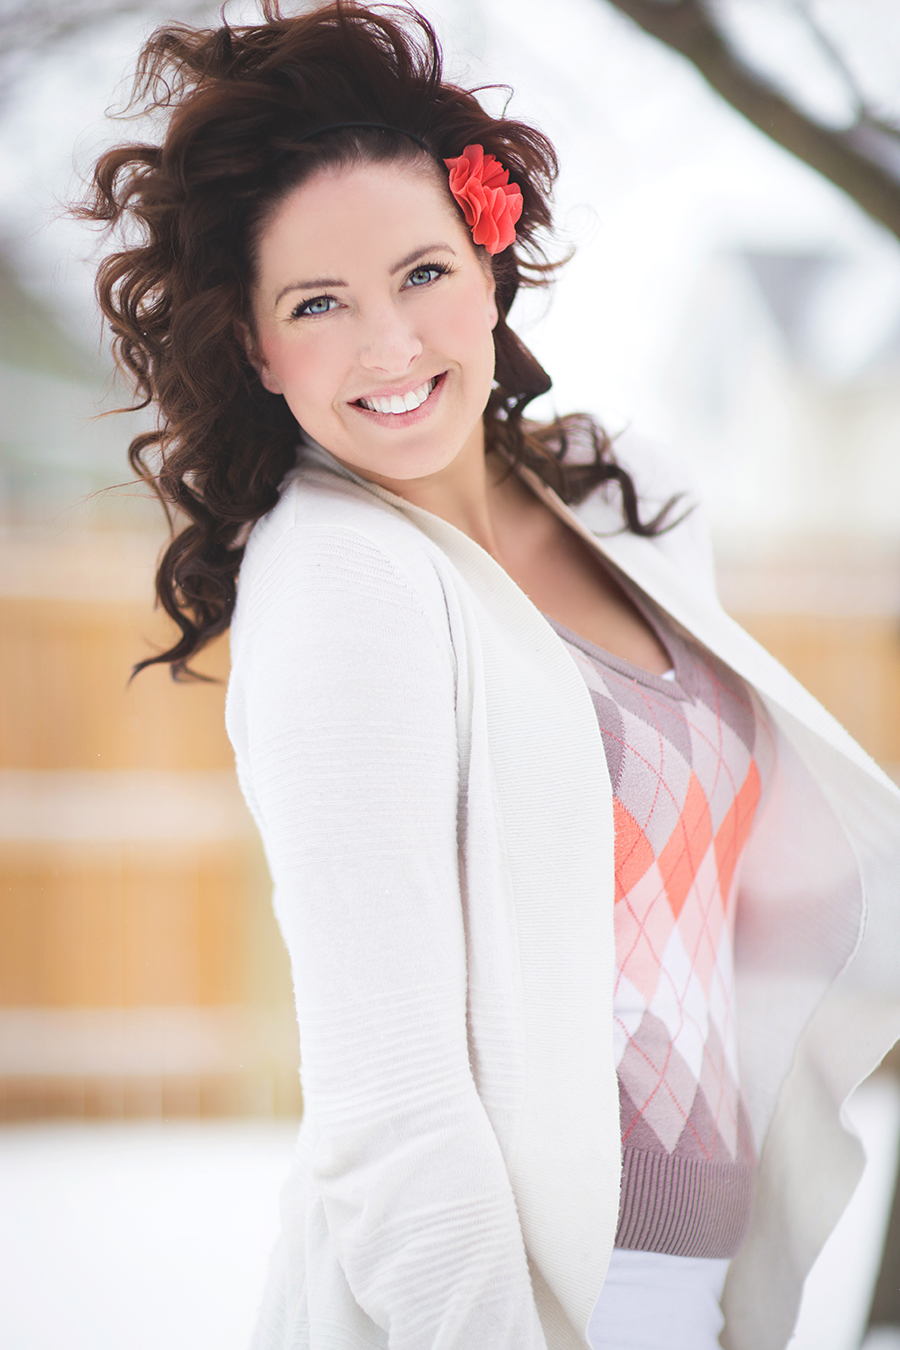
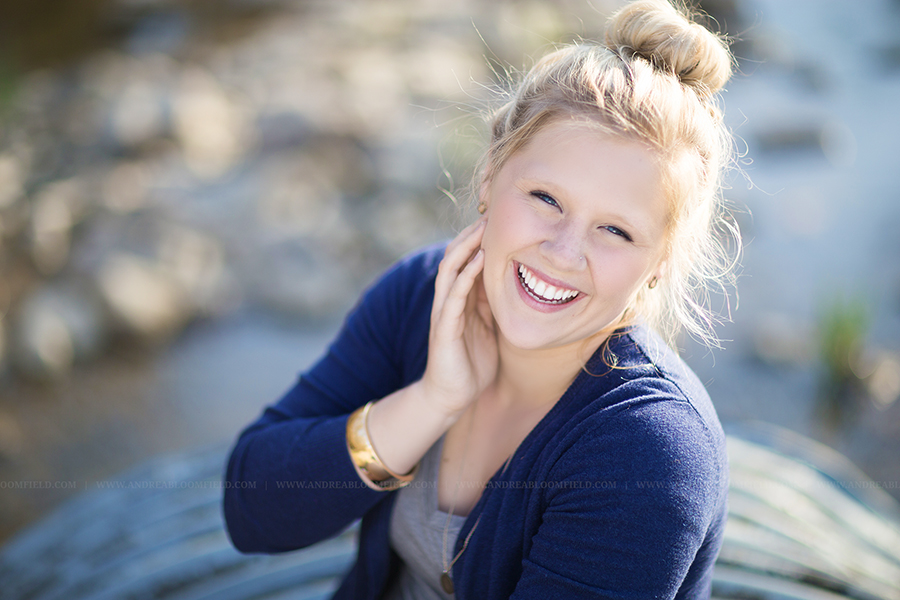
 I absolutely LOVE this pose because there are so many variations, allowing you to create infinite looks with one wardrobe. Changing the pose up ever so slightly every few shots or so will provide your ladies with more than enough variety. Where they put their hand really depends on what type of pockets they have. My favorite is the thumb in the front pocket because its more relaxed and less “posed” than the back pocket if you’re also working the other hand somewhere else. Don’t be afraid to change it to the back pocket though, it looks different on everyone and may look phenomenal! This pose works best as an action. I’ll have my subject leave their hand in their pocket and then explore with the other while I continuously shoot. It creates an amazingly natural look! Don’t forget to give them direction while you’re shooting, though. I’ll be shooting while saying, “Okay, now run your hand through your hair slowly and then give me a smile, don’t be scared to laugh!…” etc. and I’ve found it works flawlessly.
We hope you enjoyed this post. What’s your go-to senior girl pose? Post below in the comments section. 🙂