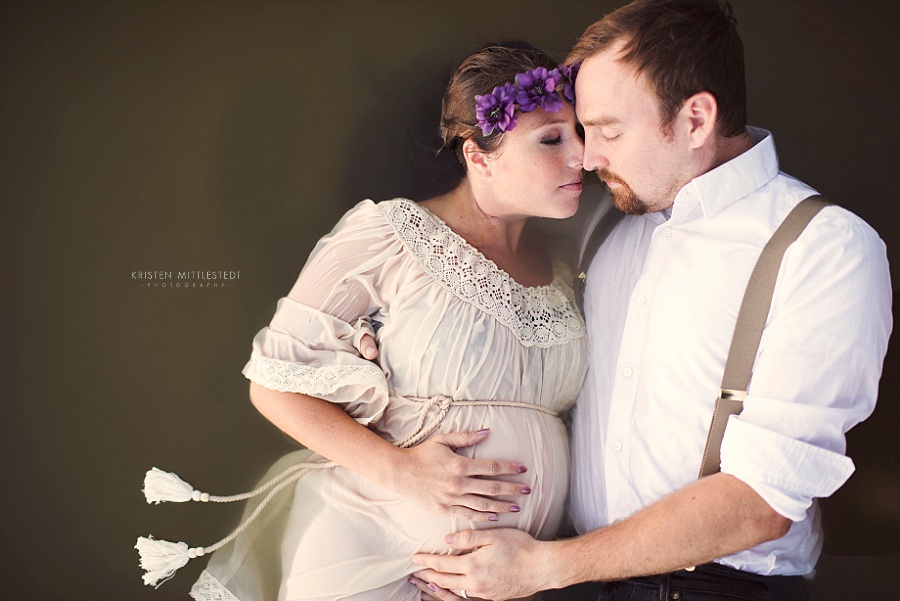
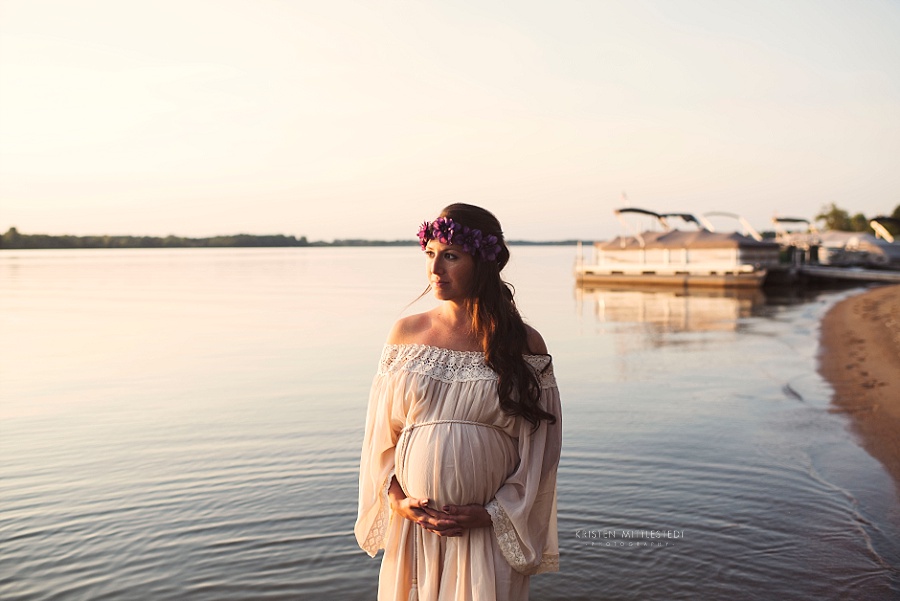
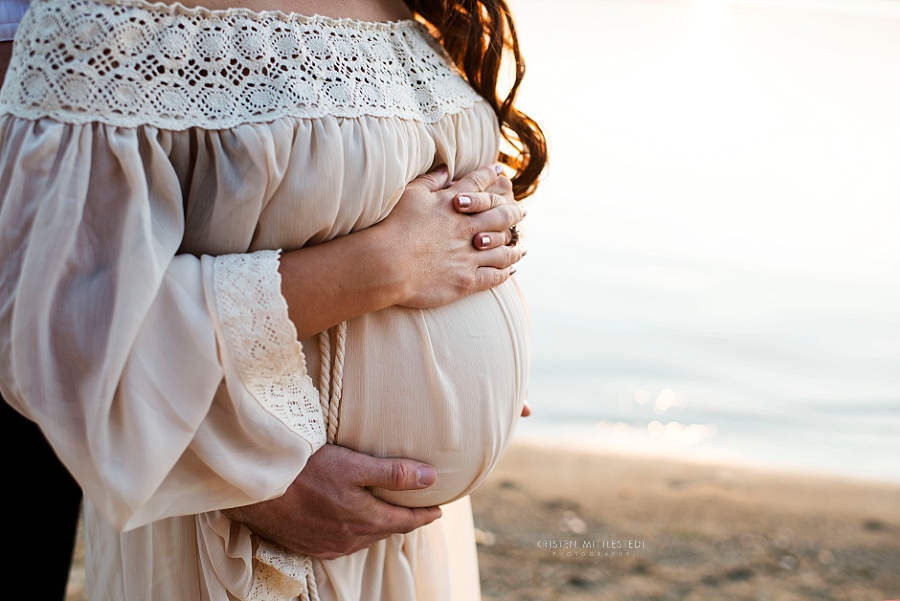
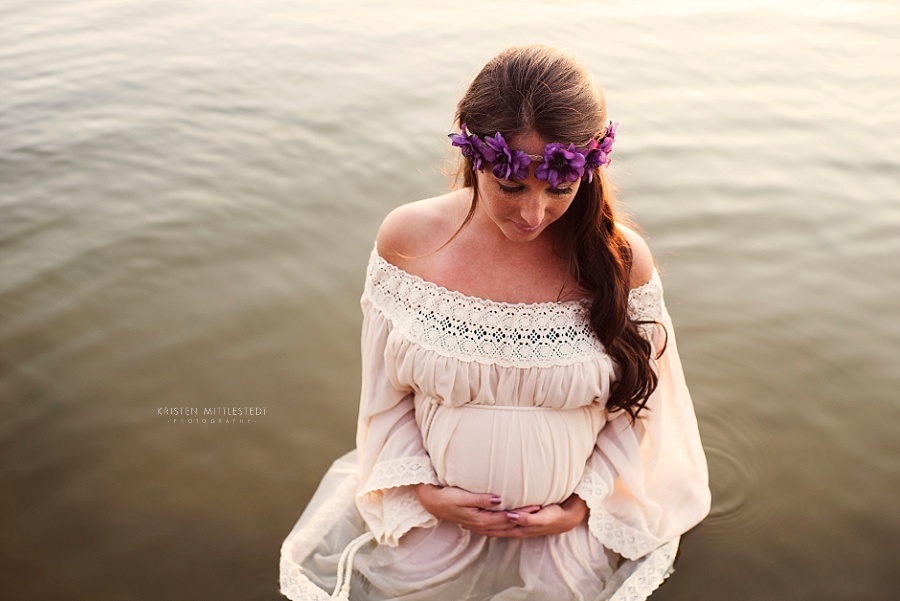
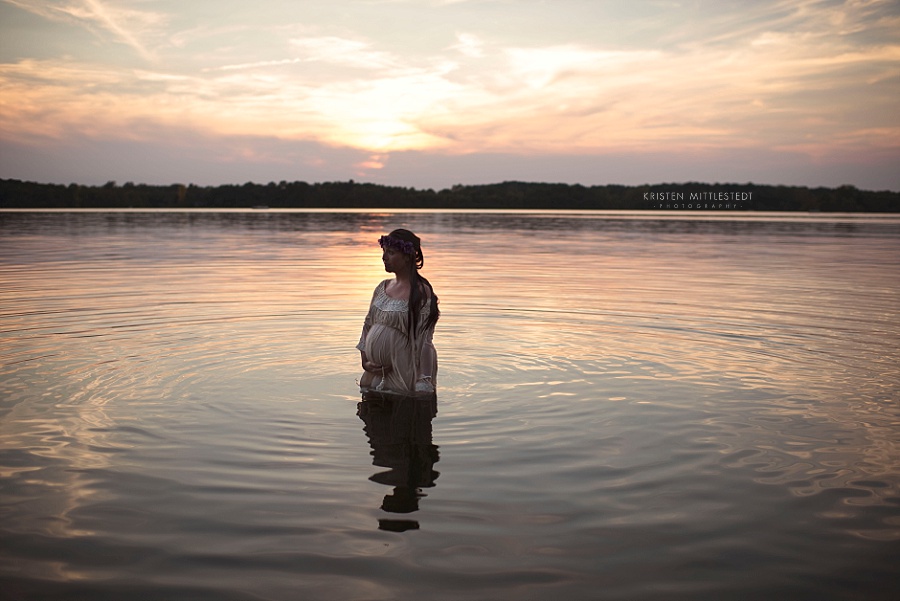
As a photographer, I am deeply inspired by light. When I shoot, I aim to have the sun close to falling. The mixture of golden sunset light, and the cool dark shadows create a rich romantic mood. To create this image, I started with shooting during the “golden hour” in RAW. I know a lot of great photographers who shoot JPEG, but RAW is my personal preference because of the extra data you can manipulate. I also work in Photoshop CC. Lightroom is great but not my cuppa-tea!
Post-processing starts in the Adobe RAW editor. I use the temperature slider to warm the image, but turn down the magenta in the tint slider. Be careful to watch the skin tones! It’s easy for things to get a wonky purple-pink hue!
From there, bump up that contrast and vibrance slider! Sometimes when shooting at sunset, it is easy to get muddy low-key images. This is where you can correct most of that! With this image, I was generous with the vibrance slider because the image started quite dull.
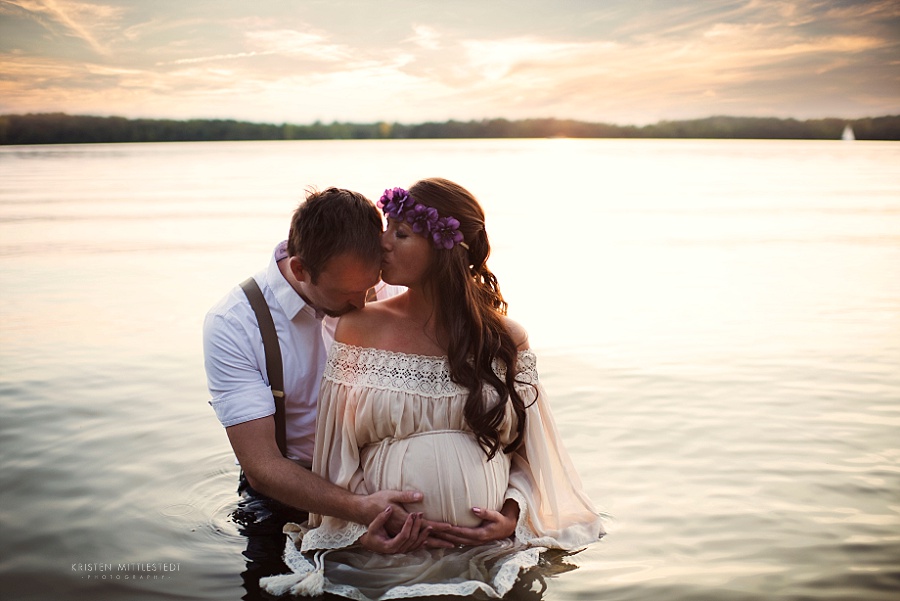
Next, hop over to the curves tab. I pull down the shadows quite a bit, using the first “dot” on the curves graph. This image still had a little bit of a low-key feeling, so I also bumped the highlights up on the graph using the third “dot”.
To end my editing in the RAW window, I use the sharpening sliders located under the details tab. Zoom your image to 100% when playing with the sharpening. That way you can be sure you don’t over sharpen. If things start looking overly grainy, or like they have a strange gray halo, back off on that slider!
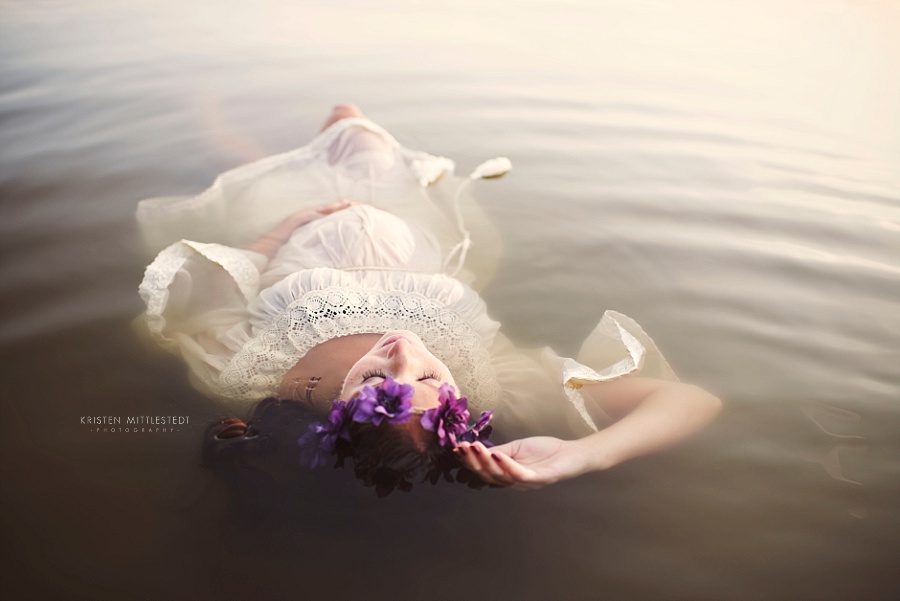
Now we are opened in good ‘ole Photoshop! At this point, the image was almost exactly how I wanted it, but it was missing that certain edge. There are several ways to go about bringing out more warmth and richness. For speed and productivity, I have two photoshop actions I use as a “go-to”. The first essential action comes from the “Follow Your Art” actions set from Pure Actions for Photographers. I adore this set because they are subtle actions that really finish off my images. “Add Pop” is my essential finishing action! The second action comes from Sarah Beth Photography’s “Sunset Collection”. “Set the Mood” created a warm and rich matte that covers the image. The great thing about using actions in photoshop instead of presets in Lightroom is that you have complete control over the different aspects of the action. On this image I ran the “Set the Mood” action and adjusted the warmth and matte layers until they were to my liking.

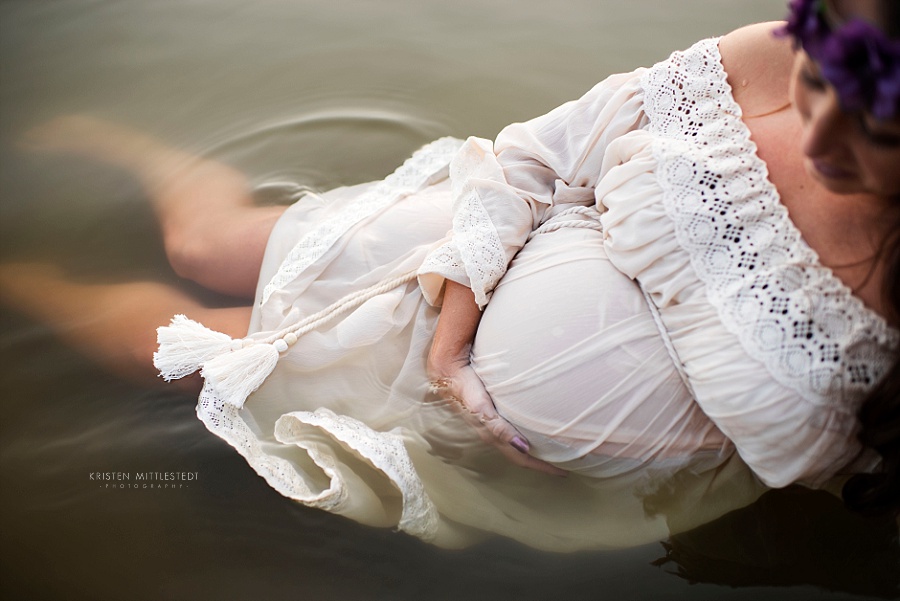
At the end, I re-sized the image to 300dpi and used the Sharpen tool to bring out the eyes and body outline. Using a matte action can sometimes take some of the crispness from the image, so going back in and sharpening the important details will help draw the viewers eyes to the image. ”
 “Currently I am working as a wedding and lifestyle photographer who travels around Indiana. With a background in fine art film, I find myself deeply inspired by light. I like to think of myself as a story-teller, crafting the love story of my couples in a romantic and modern style.”
Find Kristen Mittlestedt on the Web: Website | Facebook | Instagram | Pinterest