As a photographer, it is really easy to point your camera at your subject and say “Cheese!”. However, to take your photographs to the next level, you must be able to elicit, recognize, and capture a natural smile in your subjects.
The point of this article is to make your subject look good. The better they look, the more they like the photos, and the more they are willing to buy. And they will be willing to come back for more of your photos in the future!
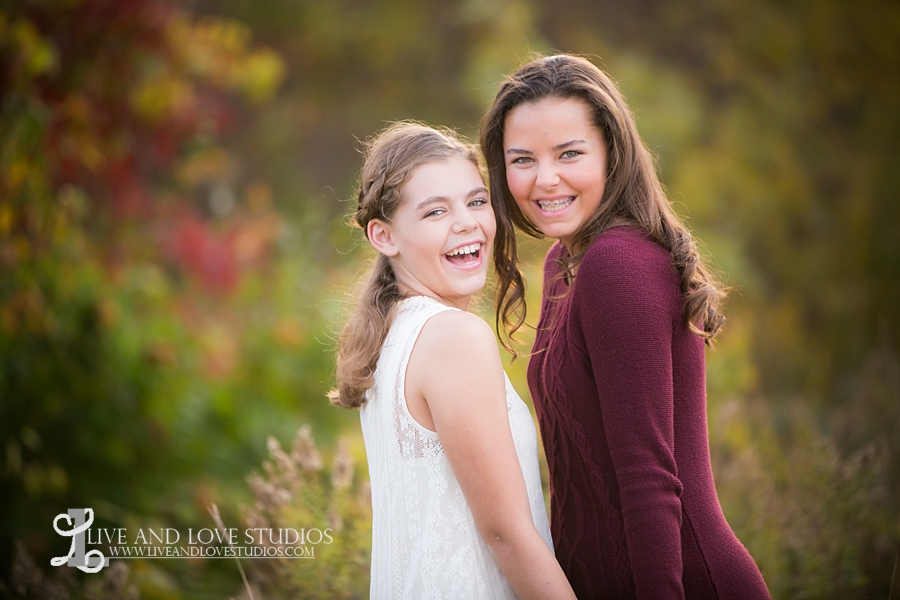
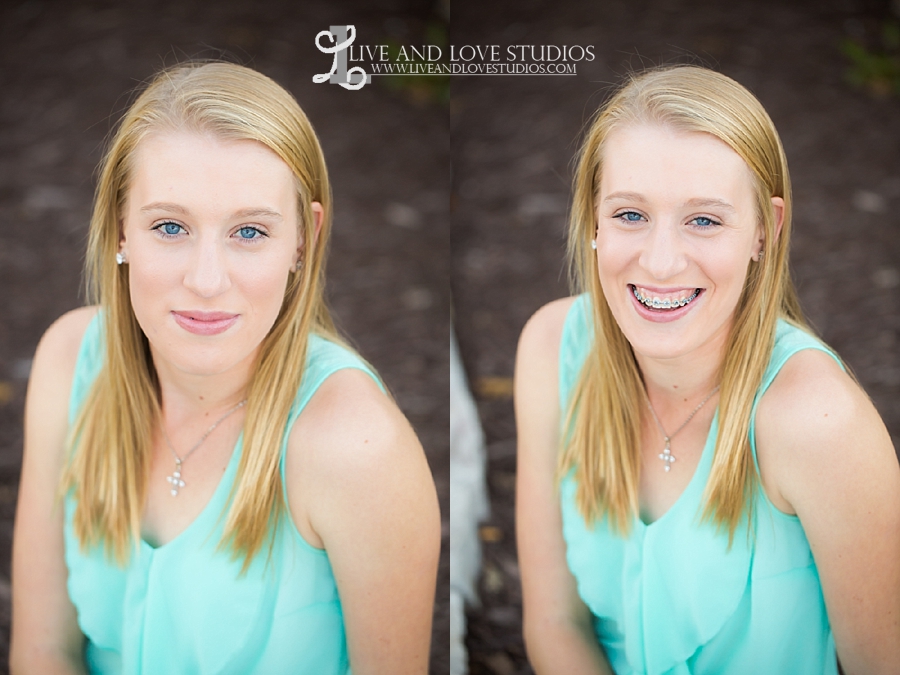
Recognize a natural smile: Want to be able to tell if it is a real vs. fake smile? Look at the eyes. The eyes will be more closed and there will be lines next to the eyes (crows feet) if it is a true and real smile. Here are some examples below of a fake vs. real smile. Can you spot the difference?
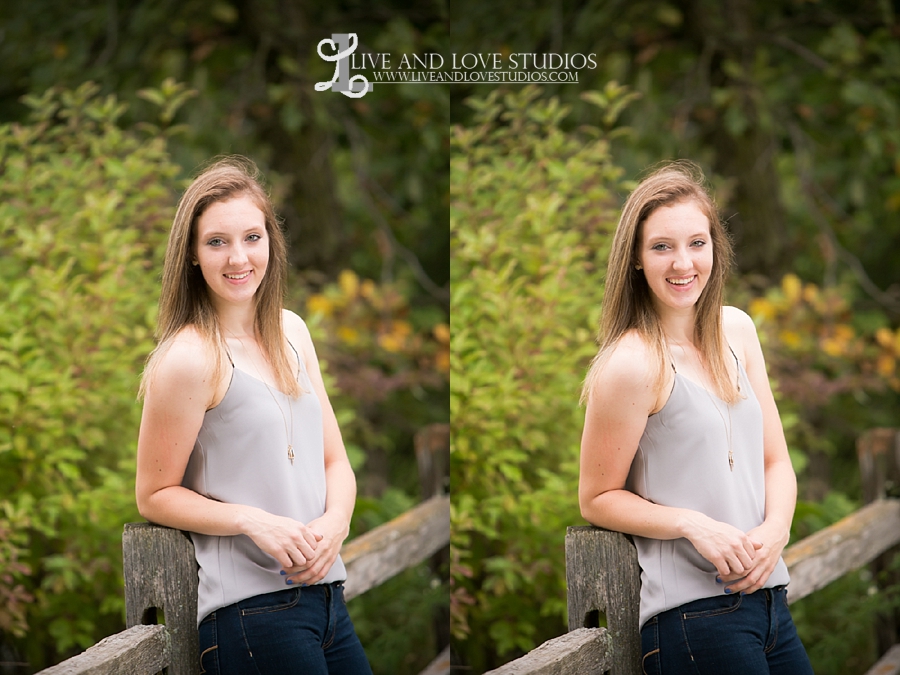
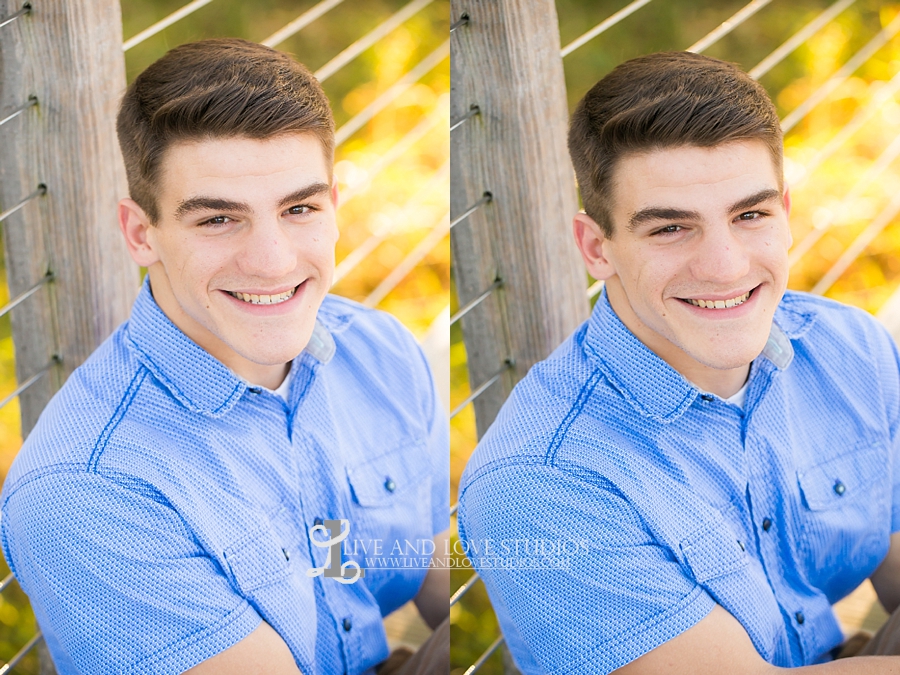
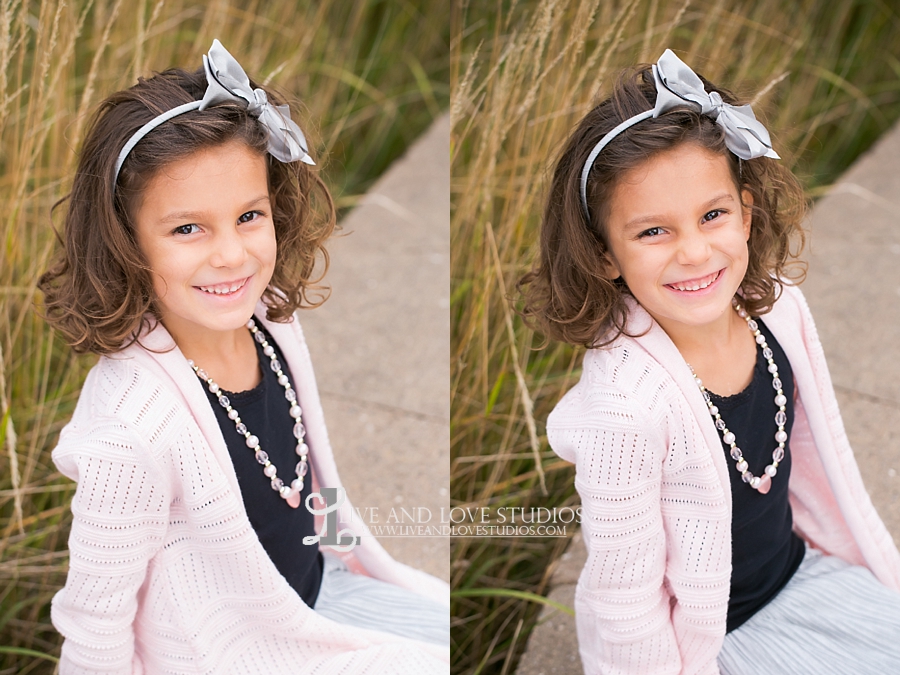
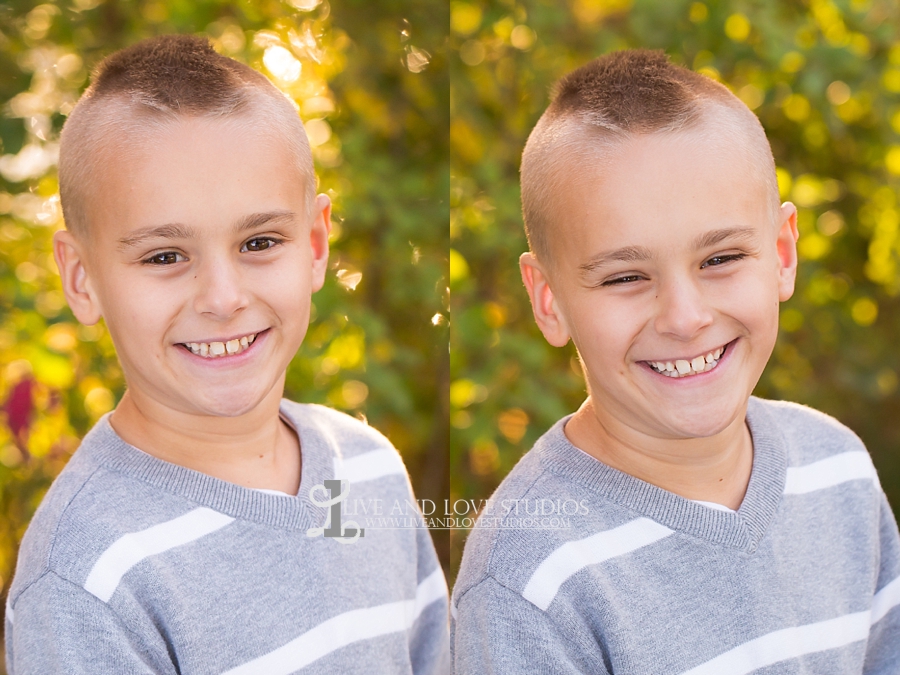
All of the images on the left are either fake or forced. The images on the right are the real and genuine smiles. The differences may be subtle, but you can see how the eyes are smaller with increased lines on the face with the natural and real smiles.
Now that you can recognize a natural smile, here are a few tips and tricks for bringing out the best smile in your subject.
Make your subject feel at ease: For all of my sessions, the first ten minutes can be awkward for both the subject and myself. This is a great opportunity to converse and get to know each other more. You can feel the shift from awkward to relaxed as the session moves forward
In fact, most of the photos in the beginning of my sessions are not as great as the ones at the end of my sessions.
When working with young children, this is where you start to gain their trust. You want to make sure they feel comfortable, while a strange person with a large black object covering their face is trying to do something around them. Once they realize there is nothing to worry about and to just have fun, you will get more natural images and smiles.
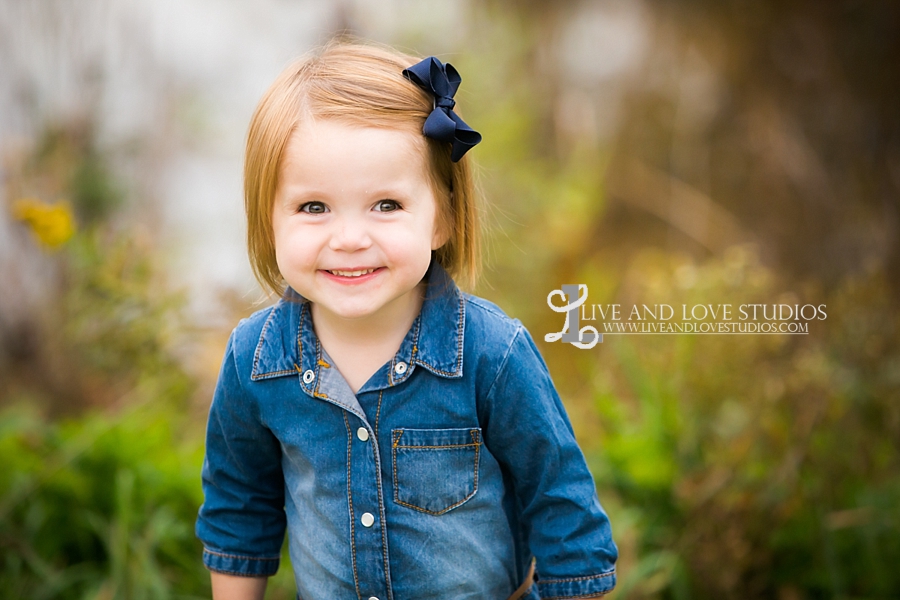
 In the above image, I allowed the little girl to hold her favorite toy. She immediately felt more comfortable with what was going on and let her happiness show in the photos. There was no staging her, as we allowed her to feel good about having her photos taken.
Any way you can find to break the ice with your subject at the beginning of the session will help the rest of the session flow naturally for you and for your subject.
Interact with and understand your subject: To be able to photograph a subject naturally and capture that genuine smile, you need to understand your subject. In order to do that, you first need to interact with them. If you aren’t meeting your subject until the actual photo shoot, this takes place throughout the session, but primarily in the first half of the session.
While you are doing this, some of your stronger shots will be toward the end, like I mentioned above. I liken it to running a race: you start out slow, but get the best shots toward the end when both you and the subject are warmed up and comfortable. Once you have an idea of who they are, you’ll know which tricks to use to get them to relax and truly smile.
 Allow them to be themselves: Are you dealing with a shy and reserved child? What about outgoing and enthusiastic? Quirky? Defiant? All of these personality traits will determine how you proceed with your photo session and capturing that natural smile. The same tricks that will get an outgoing subject to smile will not work for a more introverted subject. Understanding your subject will help you to better capture them naturally.
There are some subjects who have no trouble letting their personalities shine, no matter who is around. There are some, however, who need a little encouragement to relax in front of the camera.
I’m reminded of a high school senior I photographed over the summer. We started out the session the same way I do every session, talking and getting to know them more to try and make them feel at ease. It wasn’t until about 1/3rd of the way through her session when her mom suggested she do some of her ballerina moves. While it made for some great photos, the smiles I got from her after that sequence were noticeably more natural and more relaxed.
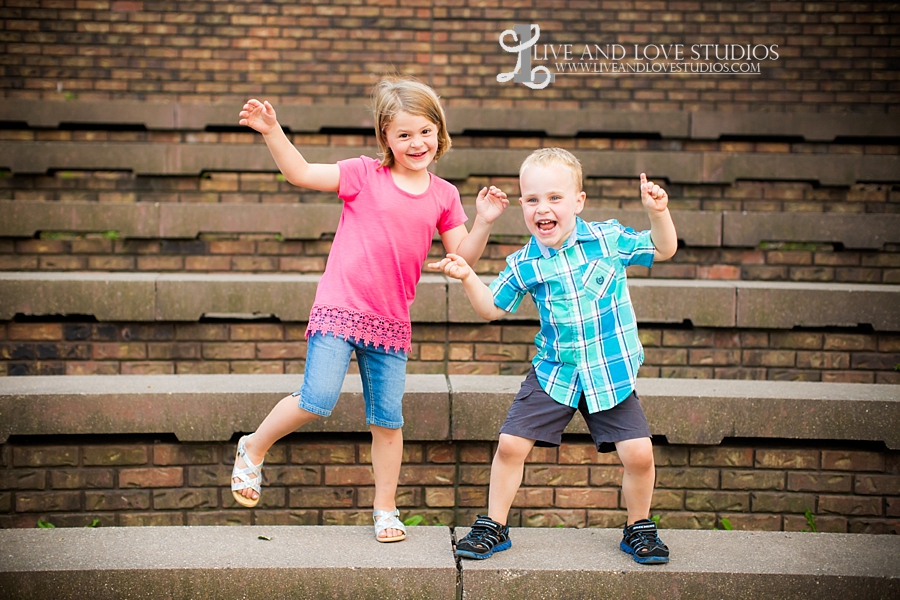 Let them dance and be silly if that’s what they need for a few minutes. That time will be made up in the fantastic images that follow that period of time. It’s just another way to put them at ease, therefore drawing out that genuine smile and personality.
Get goofy and silly: Obviously, you don’t do the exact same tricks for infants that you do for high school seniors. However, I’m just as silly and goofy for both groups of subjects. If I have to break out the Barney theme song to get a real smile from my high school senior, I’m not afraid to do it. Don’t be scared to make a joke of yourself to get a great smile!
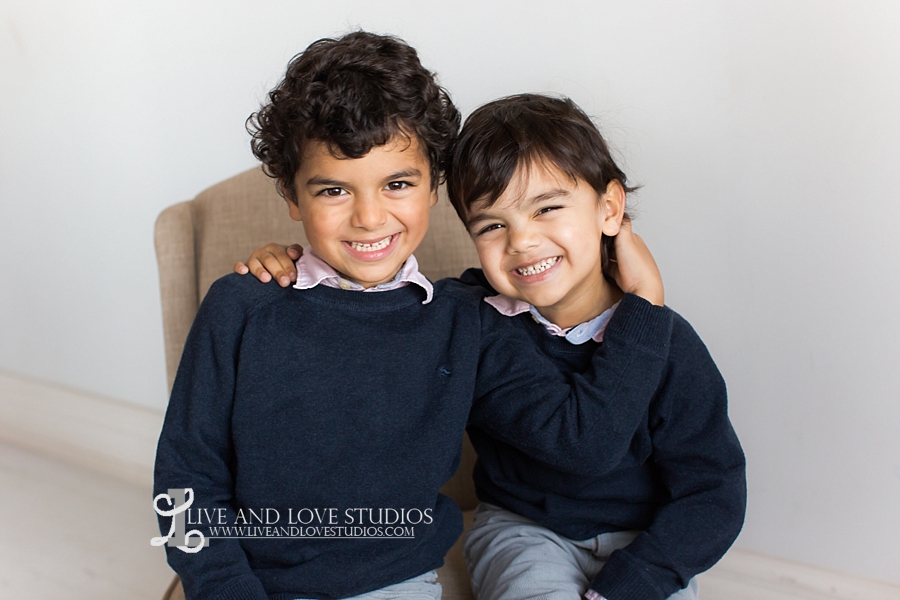
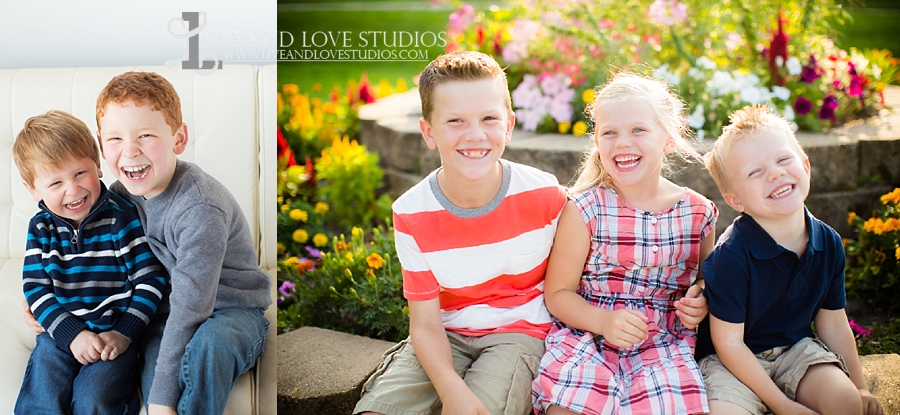 This includes silly faces, jokes, and stories. While it is tough to remember some of these while focusing on getting good images, all it takes it one goofy thing to get that real smile. I honestly can’t remember what I did to make these kids laugh, but it might’ve had something to do with diapers, poo, and underwear. Ha! Whatever it takes to get those kids to laugh, and it is not off-limits from Mom and Dad, go for it!
Tell them not to smile: Ok, this works in two different ways. For young children and toddlers, this is a funny game to them. I like to say, “don’t smile” in a way where they know that it is a game and in turn, really smile. There are some kids who can instantly turn off that smile or some kids who get really confused, and not think it’s a joke. At that point, you know that trick won’t work and to try something else!
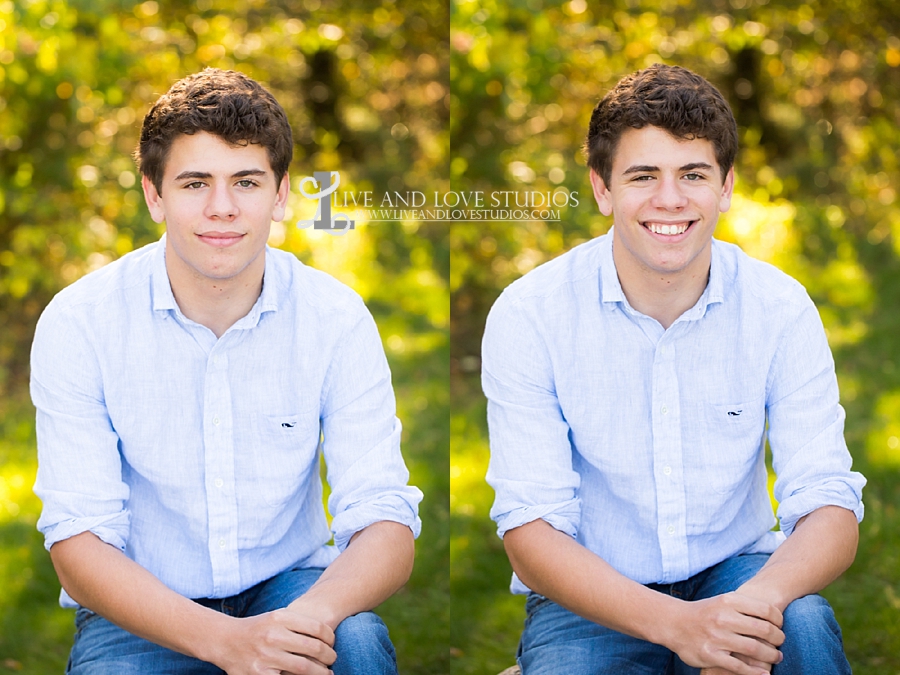 For teens, high school seniors, and adults, telling them not to smile is a way to get them to reset their smiles. When you are holding your smile for any period of time, it turns into what I like to call “Perma-grin.” It’s the really fakey, cheesy, very unnatural smiles that do not make your subjects look all that great. When you see this happening, tell them to relax their mouths and not smile. Next, tell them to give a little smile with no teeth. Finally, letting it go and letting that full smile fly! This leads me to my next point…
 Be quick and anticipate: That moment when you are telling them to really smile (from not smiling), or right after telling a joke, is that split second where you can capture that real smile. For some people, you have at least a few moments to snap that photo. For others, it’s split seconds. Make sure you are ready with the correct focal point and settings on your camera before that smile flashes.
 I like to take several frames, even if I think I have gotten it. Some time people blink or look away, and I don’t notice it until culling. Other times, you may have the wrong focal point or the image has motion blur. These are just a few of the reasons I make sure to take multiple frames when that natural smile is there.
 Change up the pose: If a subject is looking unnatural and uncomfortable, have them try a new pose. Maybe a child isn’t comfortable sitting in the chair you have them in and would rather walk around? Or, your high school senior wouldn’t normally sit in a way that you are asking them to.
Many times, I end up over-posing, and then the subject looks stiff and unnatural. There’s no way they will be giving a real smile if they are focused on how uncomfortable they are. If something doesn’t look right to you, switch it up and start over.
Keep trying until the end: Sometimes, you will end up with a very difficult toddler, teenager, or adult. They are either very introverted, shy, or just plain cranky. With subjects like this, it is all about trial and error. I exhaust all of my tricks until I have nothing left, and then I try something new.
Many times when I have toddlers and children that are difficult, the best pictures come at the very end of the session, sometimes within a span of a minute or two. By that time, the parents and I have figured out what will finally work to elicit some smiles. And, the toddler is probably feeling at ease at the end of the session.
My point here is not give up, no matter how difficult it is! Keep trying new things, until you find what works, because once you figure it out, it only takes a minute to capture that smile.
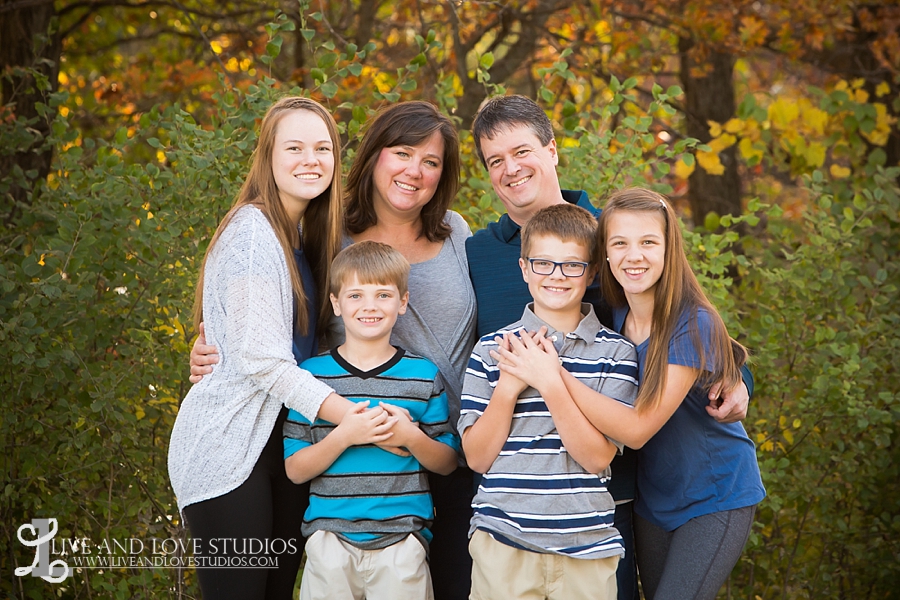 While the tips and techniques change between age groups and personalities, a real smile is universal. The more experience you gain photographing different subjects, the more tricks you will learn and store in your back pocket. I have been photographing families, children, and high school seniors for over ten years, and I feel like I can go into any session ready to capture that natural smile. It takes time, but understanding what you are looking for is half the battle.
Finally, when culling through your images, make sure to give your client several different options for their smiles. I’ve encountered several people who prefer images where they are not grinning from ear to ear. Give them lots of options to choose from (small smiles, relaxed smiles, natural smiles, etc.) when reviewing their images from their session, and you will have happy clients. Better to give more, than to come up short of their expectations.
Capturing that natural smile in your subject can be a difficult thing to do at first. But the more you learn how to draw out that smile, recognize it, and capture it, the easier it will become. This article gets you on your way to photographing natural smiles in your subjects!
 About the Photographer: My name is Jackie Boldt, and I am a Lifestyle Child and Family Photographer in St. Paul, MN. I have always shot with a lifestyle approach, even before lifestyle photography was popular! I also own and maintain a site called The Photographers Dream House with photography and business tips for beginner and aspiring photographers. I manage to juggle both businesses, while being a stay-at-home-mom to 4! Thanks for reading!
Find more of my work on the Web: Facebook / Twitter / Pinterest / Photographers Dream House